Quickly bring your existing customer data into Affinect by uploading a CSV or Excel file. Your contacts will be added to the database, ready for filtering, segmentation, and personalized campaigns.
عاطفة
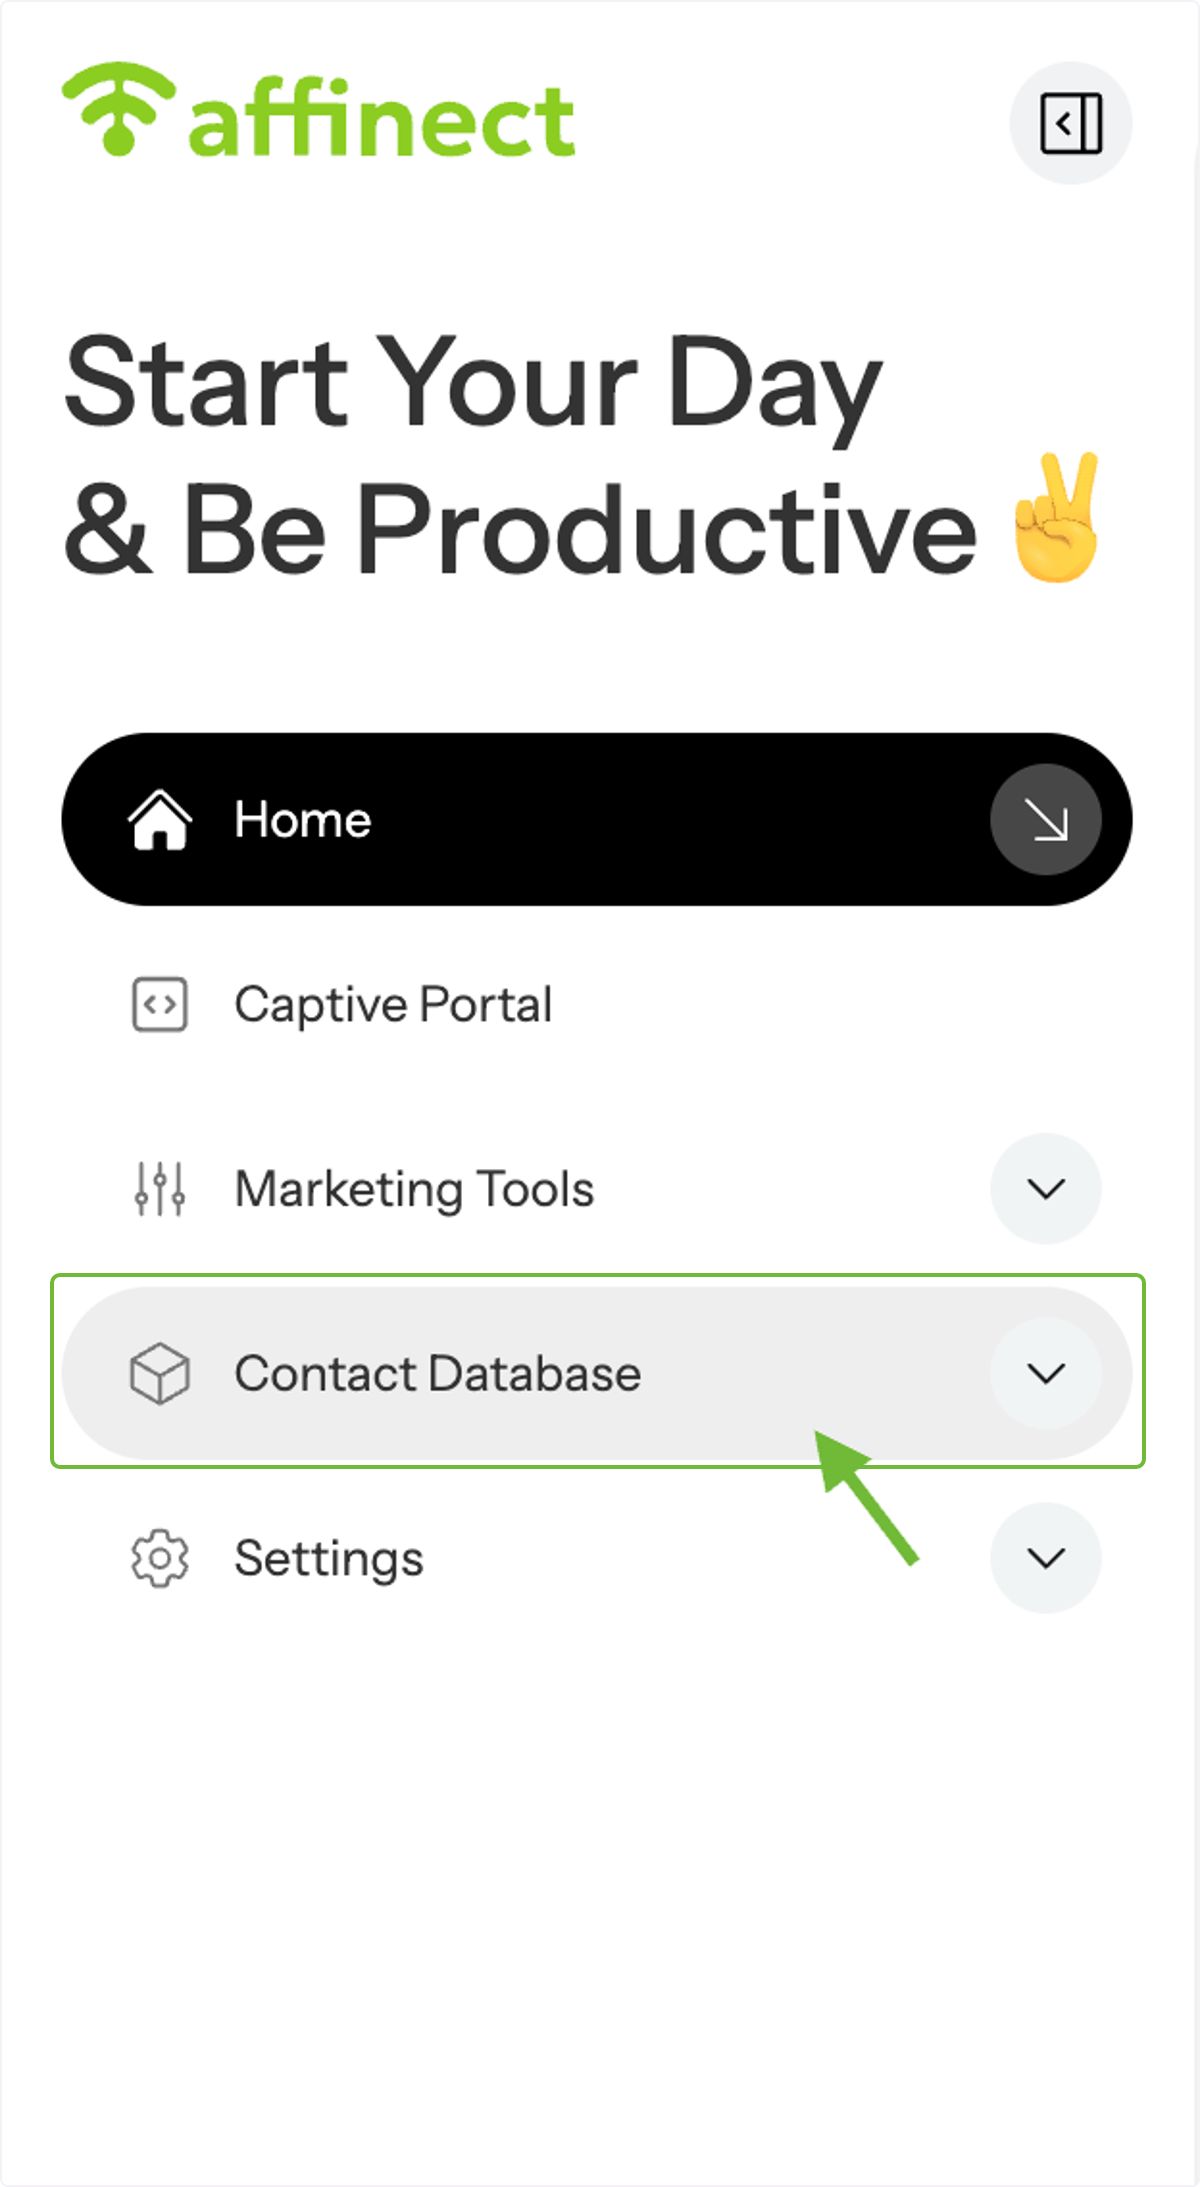
Access Contact Database
Click on Contact Database in the left-hand menu of your dashboard to get started.
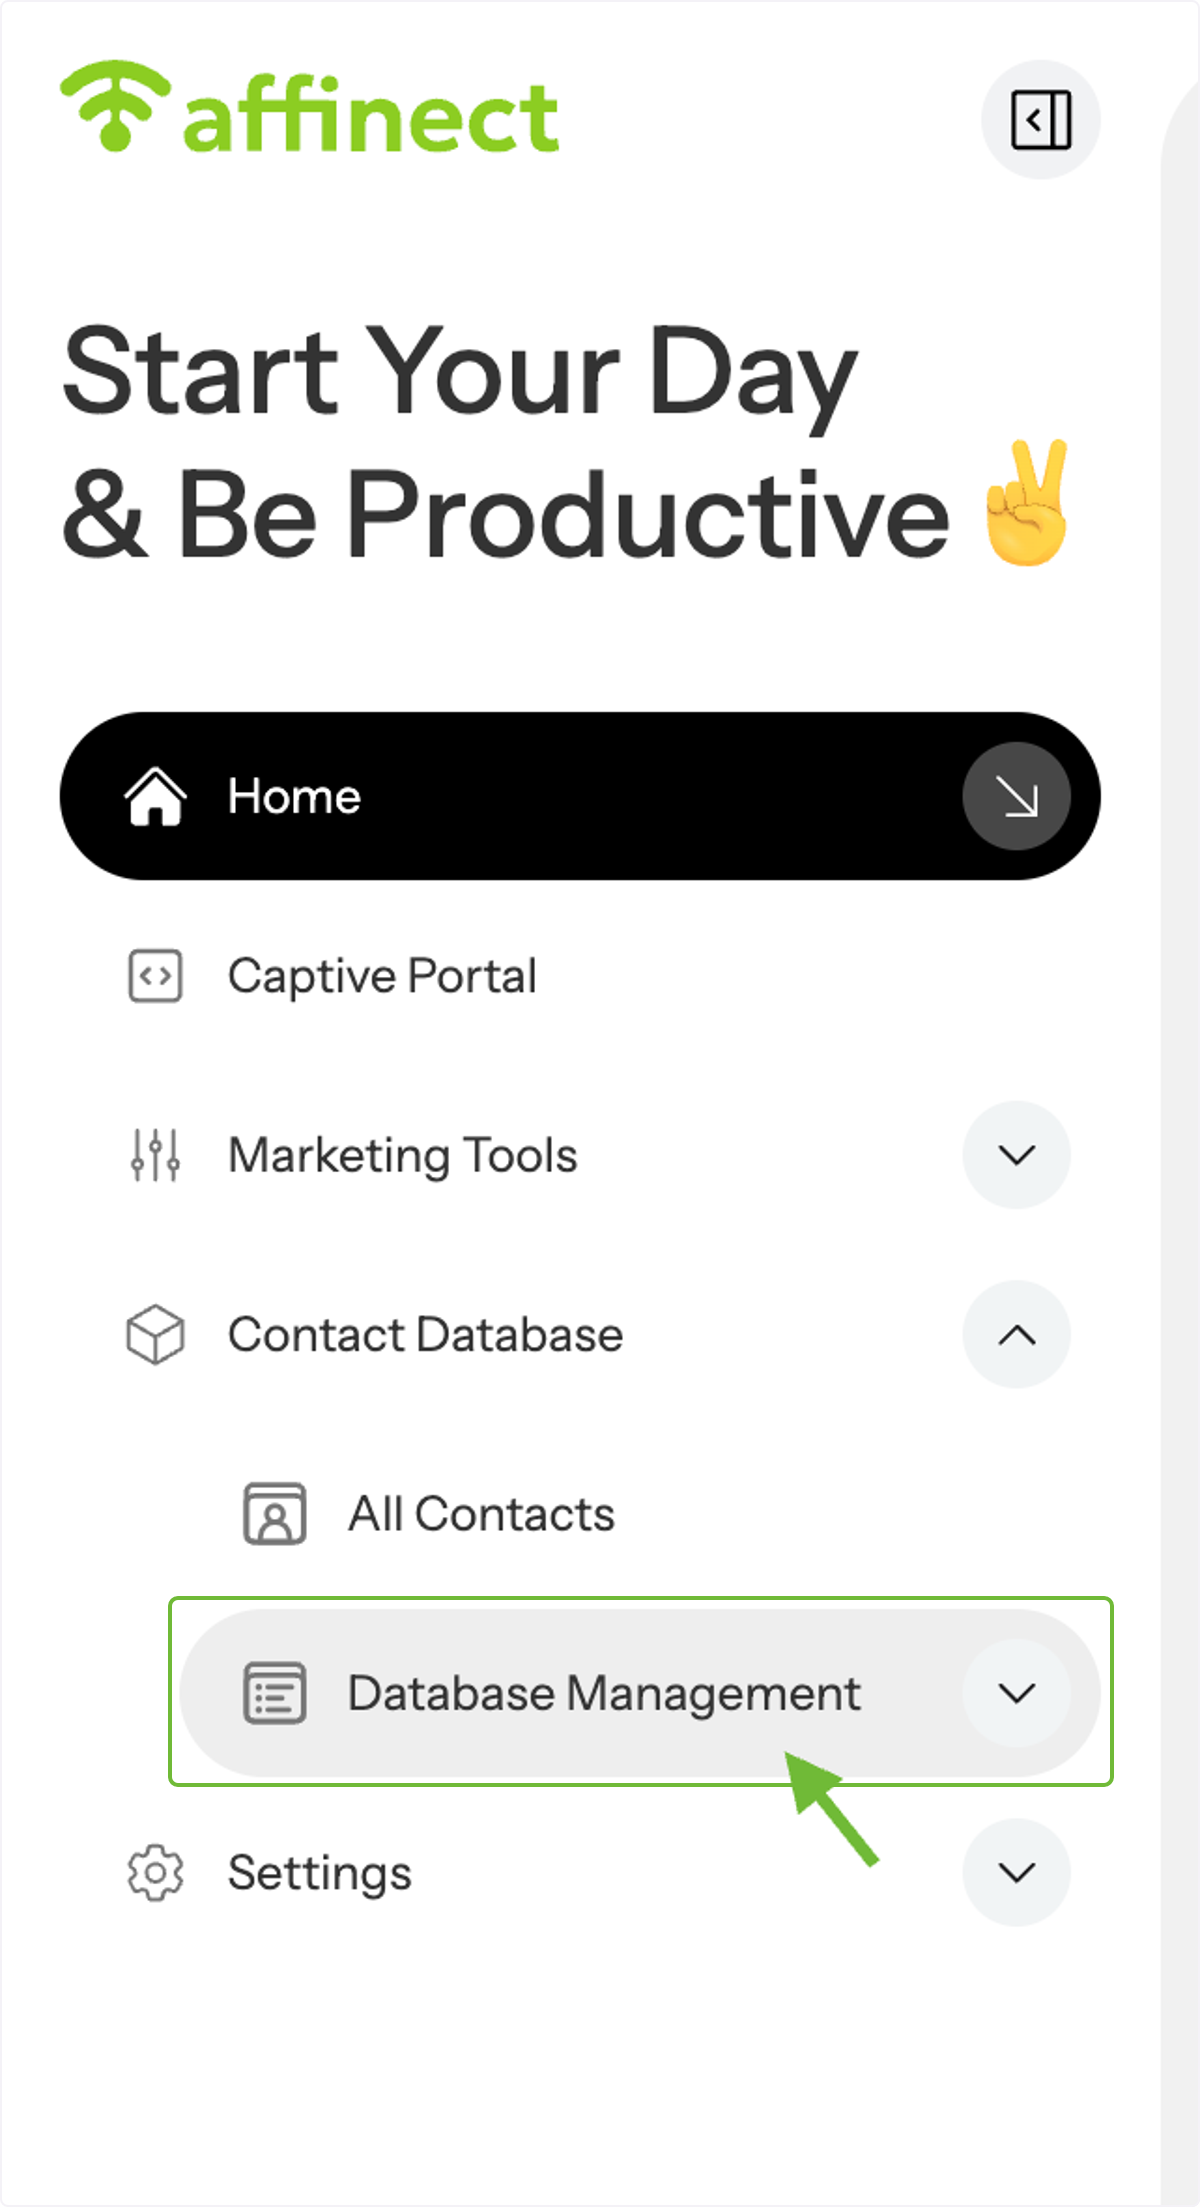
Open Database Management
From the drop-down menu, select Database Management to view and manage your contact data.
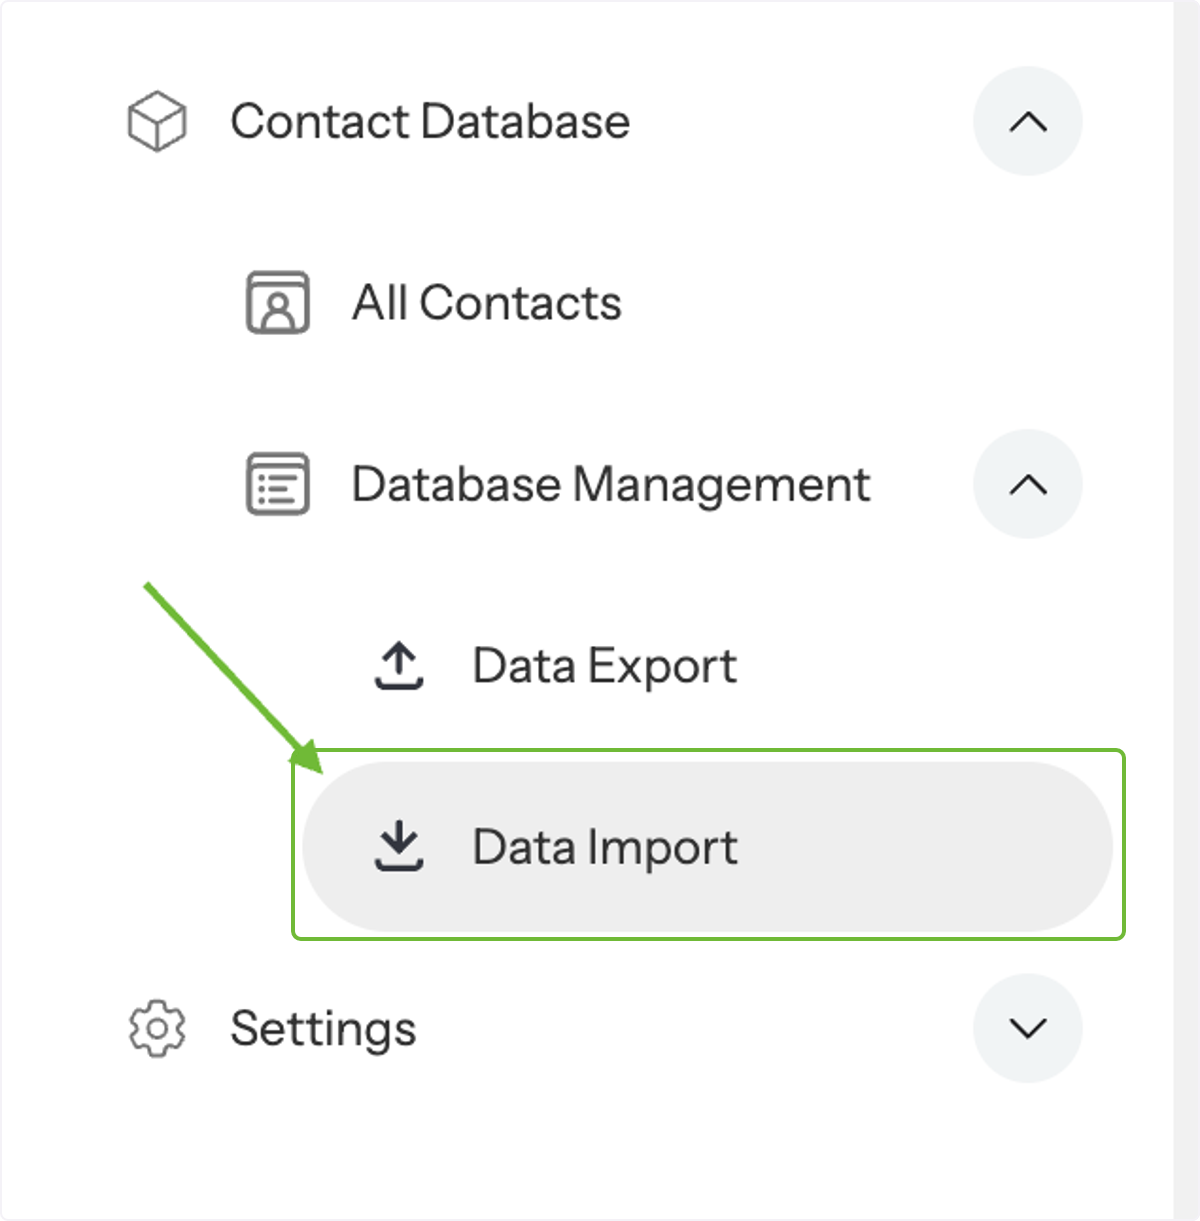
Go to Data Import
Click on Data Import to start importing your contacts list.
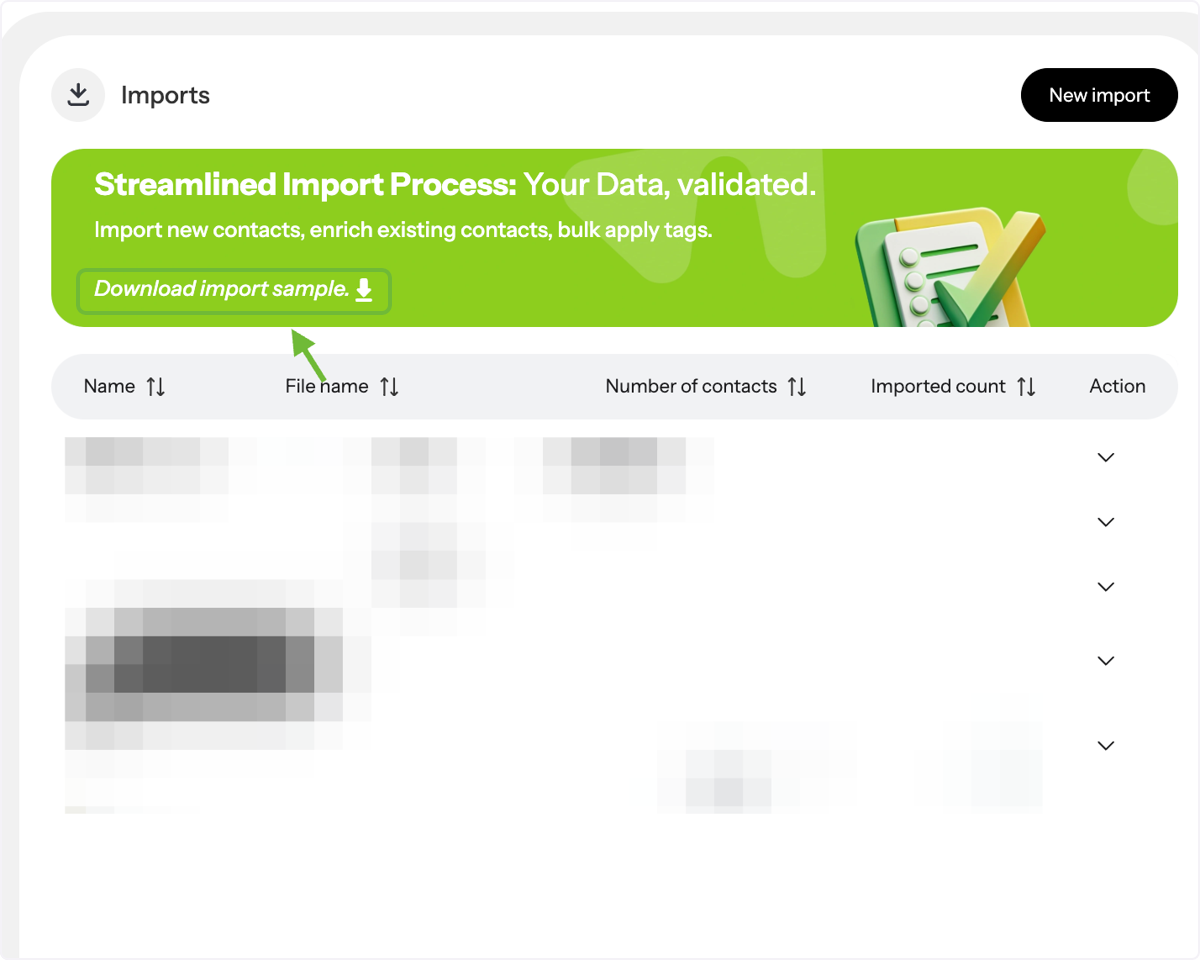
Download Sample File
Click Download Import Sample to see a template of the required format. This ensures your file is error-free before uploading.
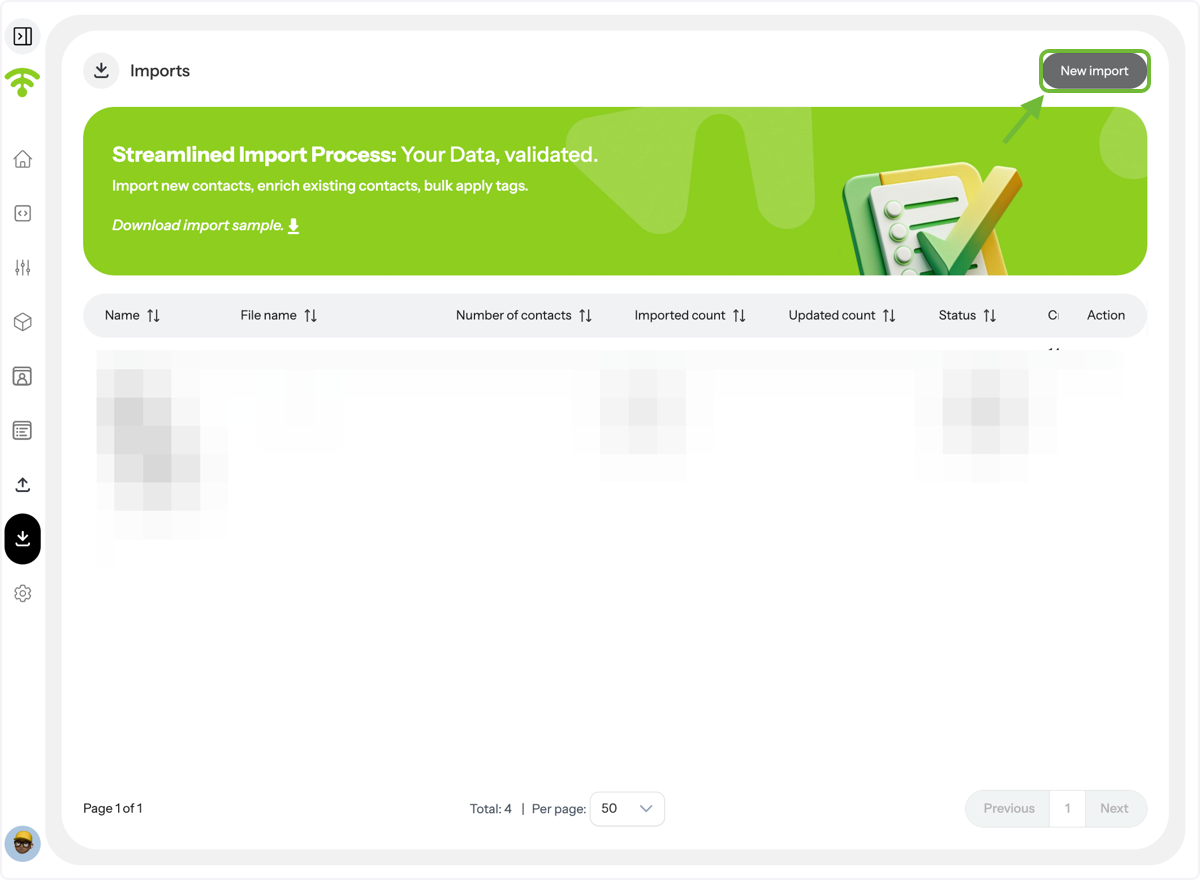
Start a New Import
Click New Import at the top-right corner to begin uploading your own contact list.
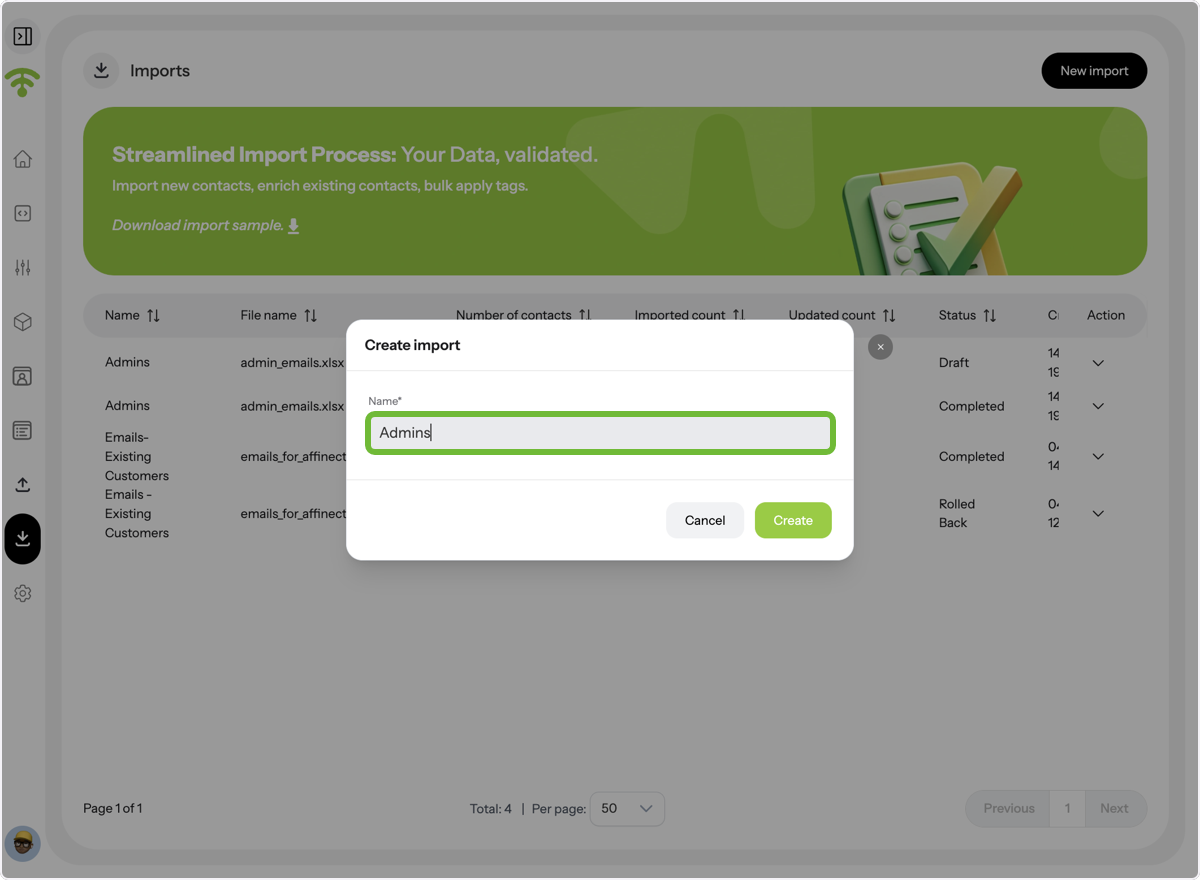
Name Your Import
Give your import a name and click Create to proceed.
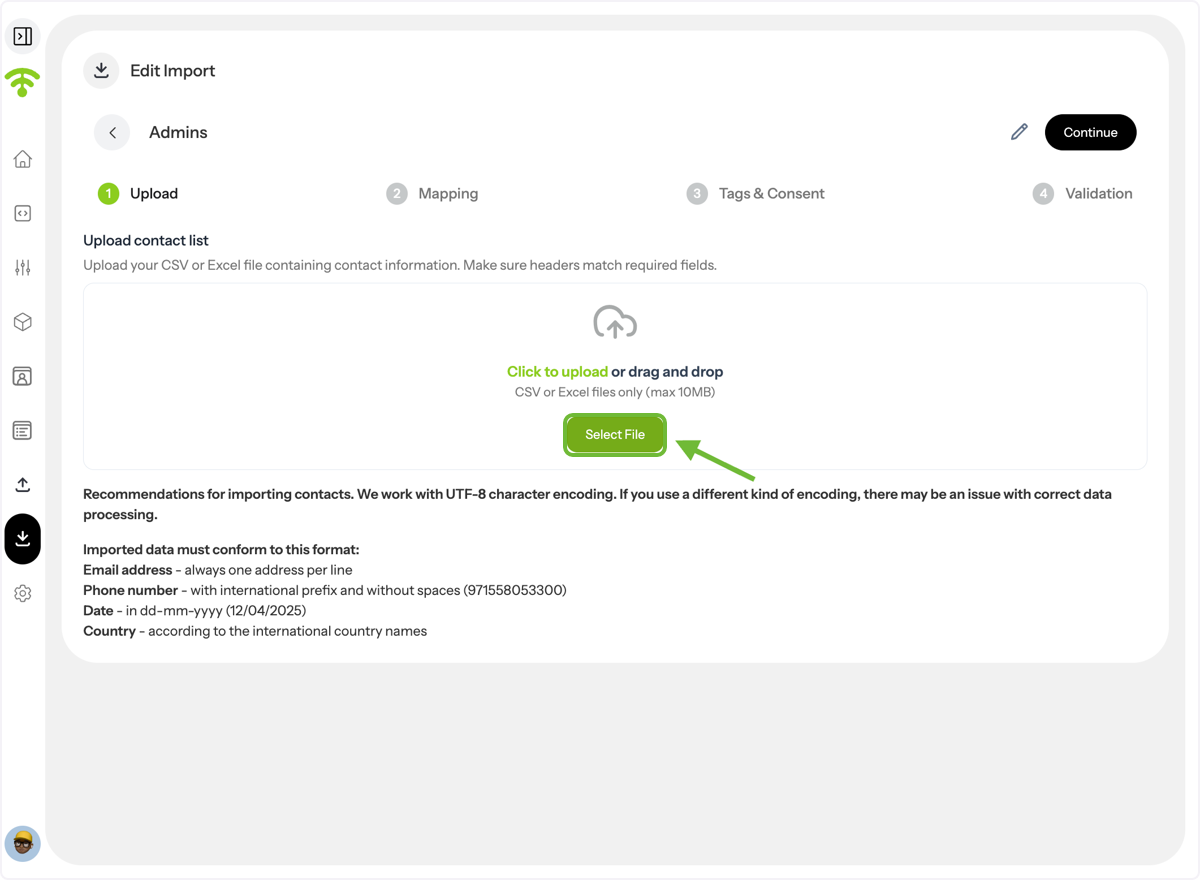
Upload Your File
Click Select File and upload your CSV or Excel file. Make sure your file matches the required format to avoid errors.
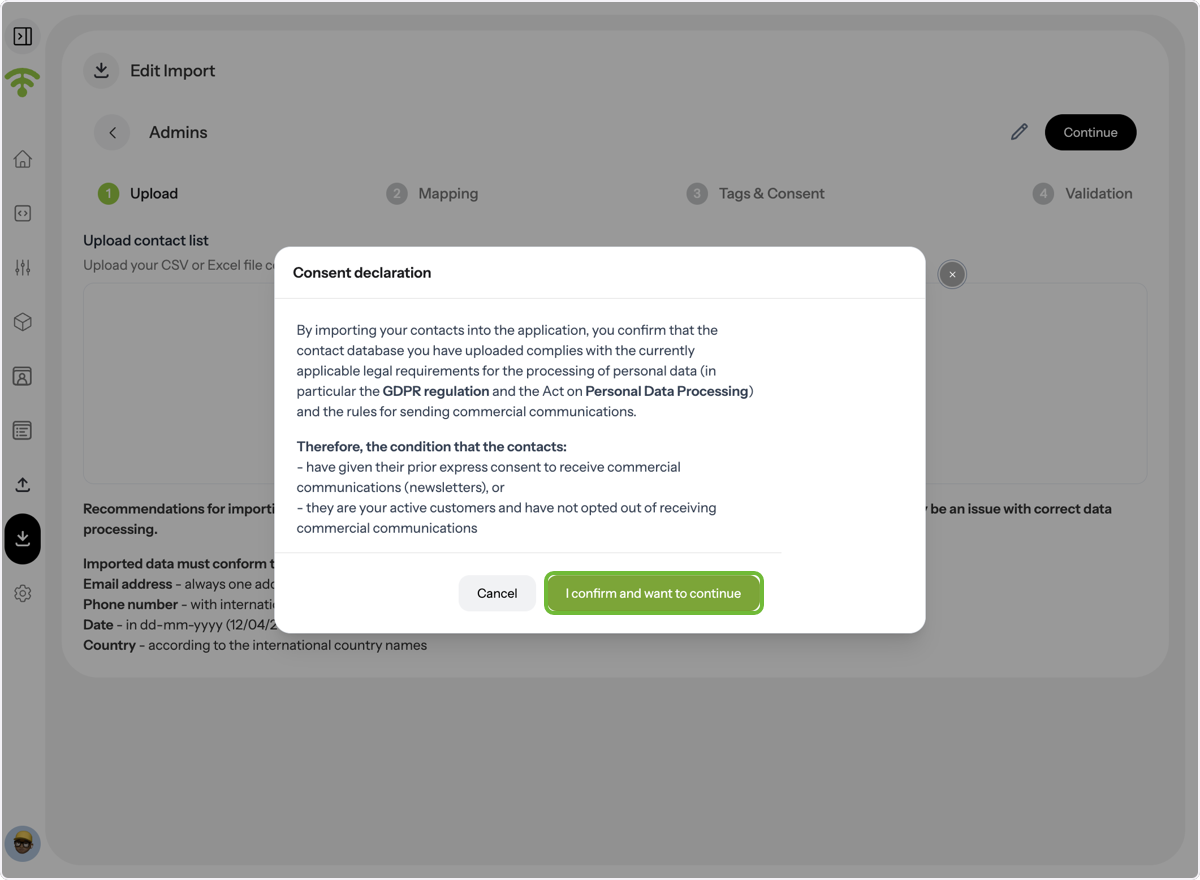
Confirm Consent Declaration
After uploading, a pop-up will appear for consent declaration. Click I confirm and want to continue to proceed.
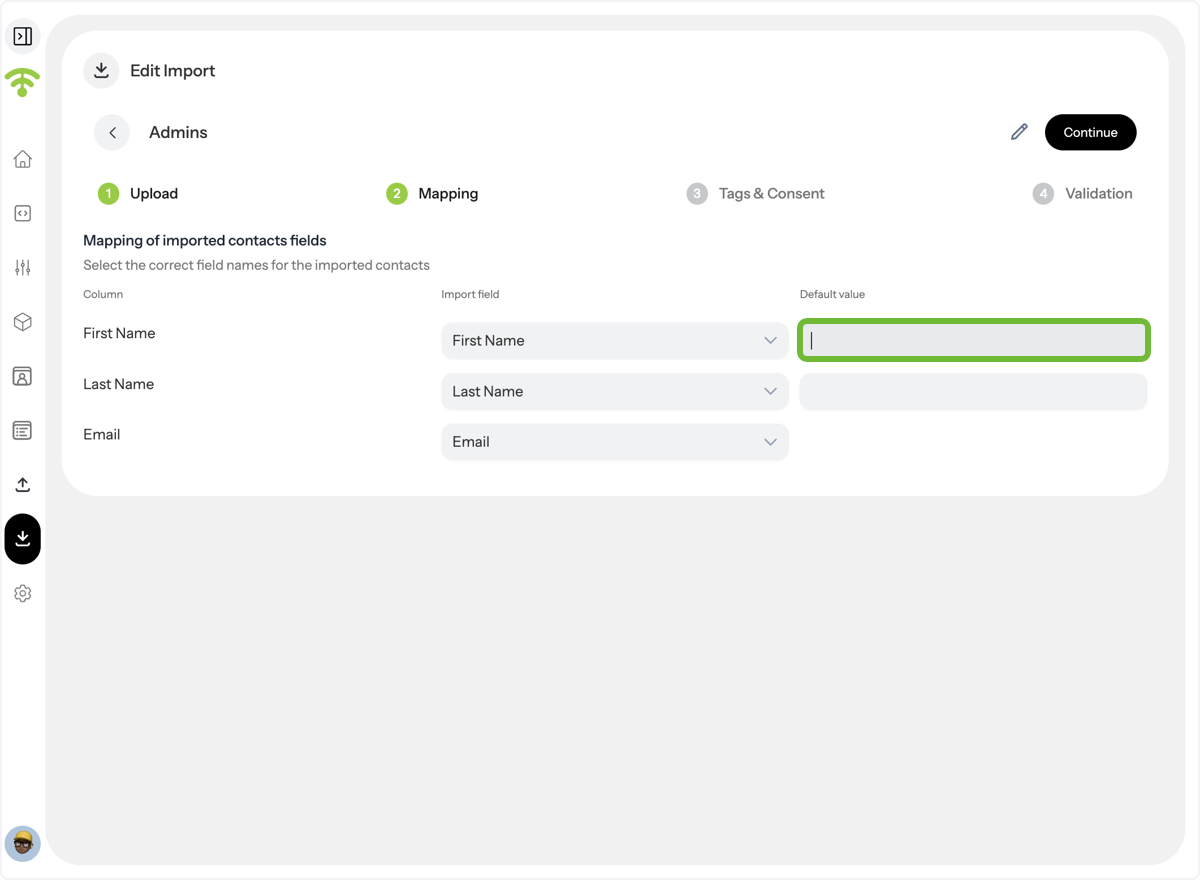
Map Contact Fields
Map your contact fields correctly. You can also add default values for any field. Once done, click Continue in the top-right corner.
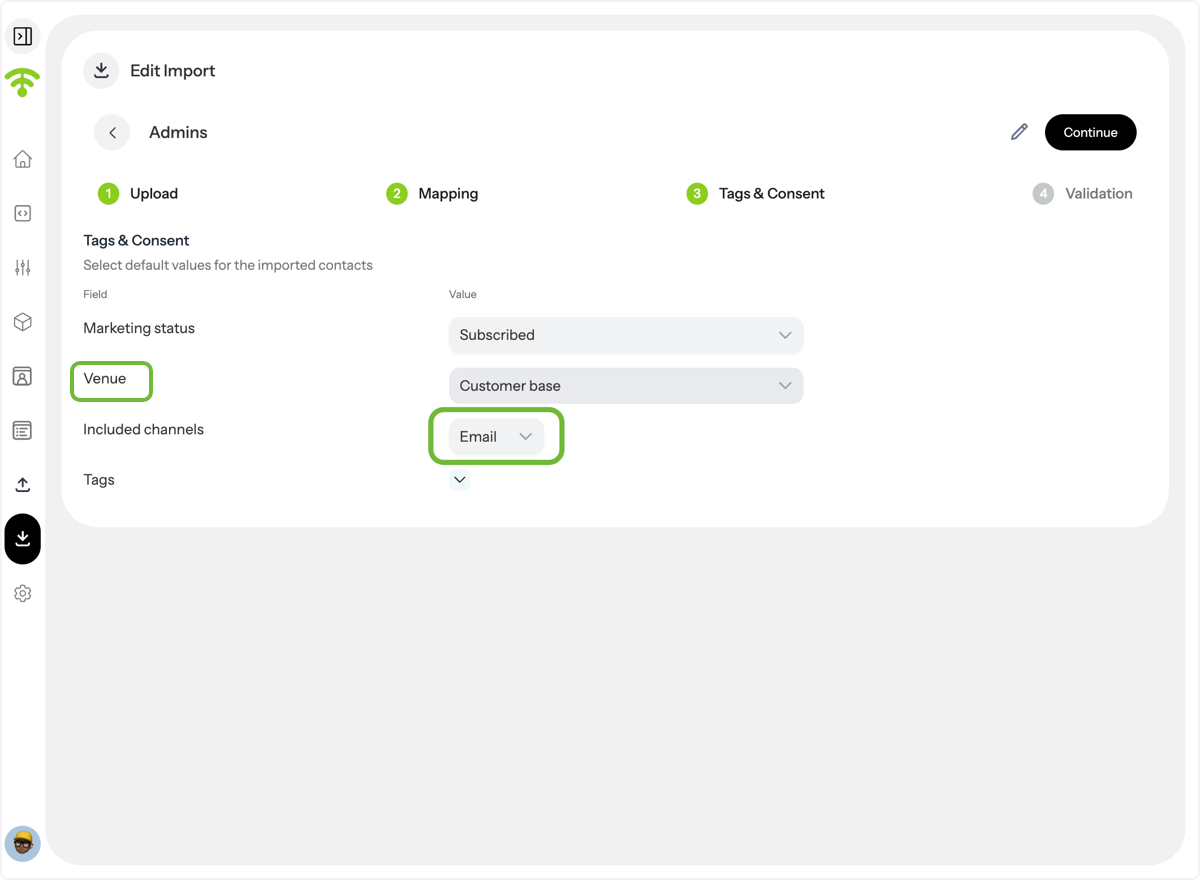
Select Marketing Status, Venue, and Channels
Choose the marketing status and which venue the contacts should be uploaded to. You can also select included channels like Email, SMS, واتساب, or Popup Survey (coming soon).
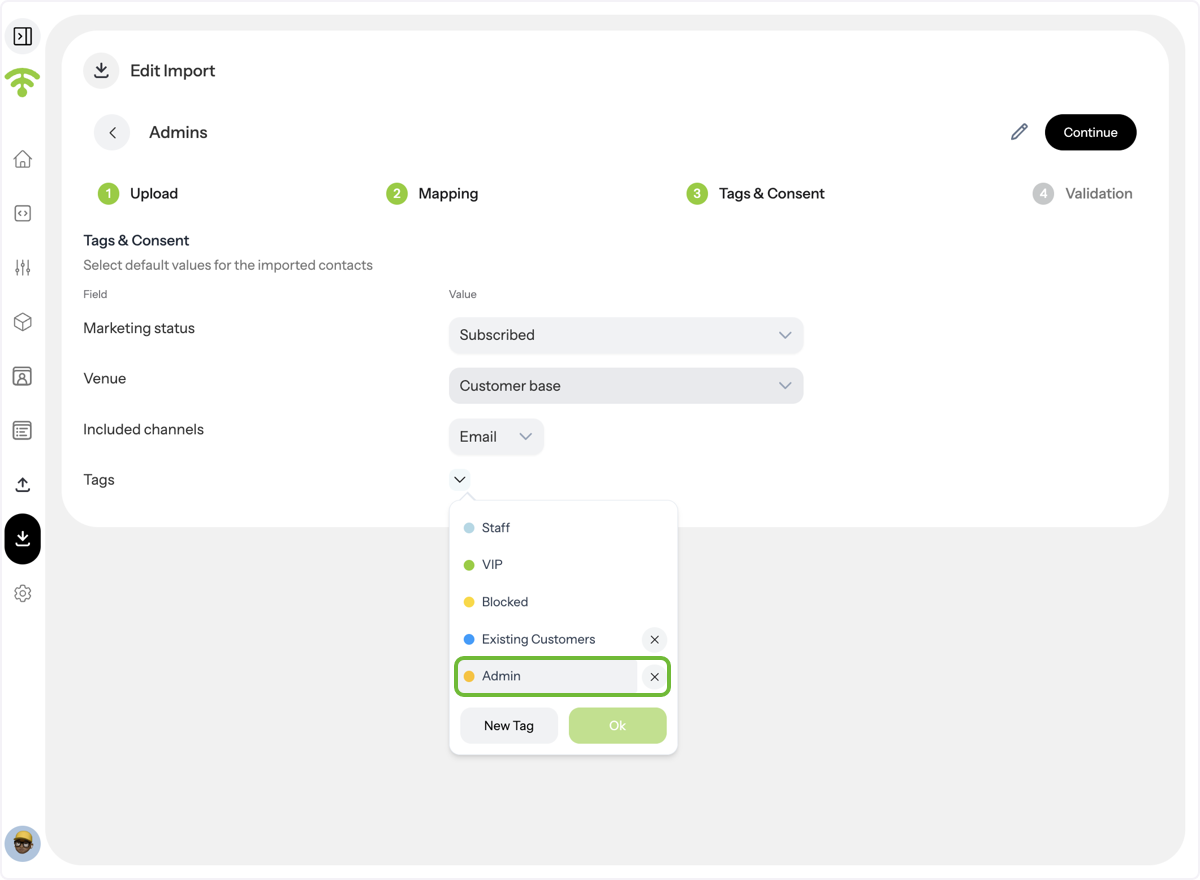
Add Tags
Tag your contacts using existing tags or create new ones. Click Continue to move forward.
Validate Data
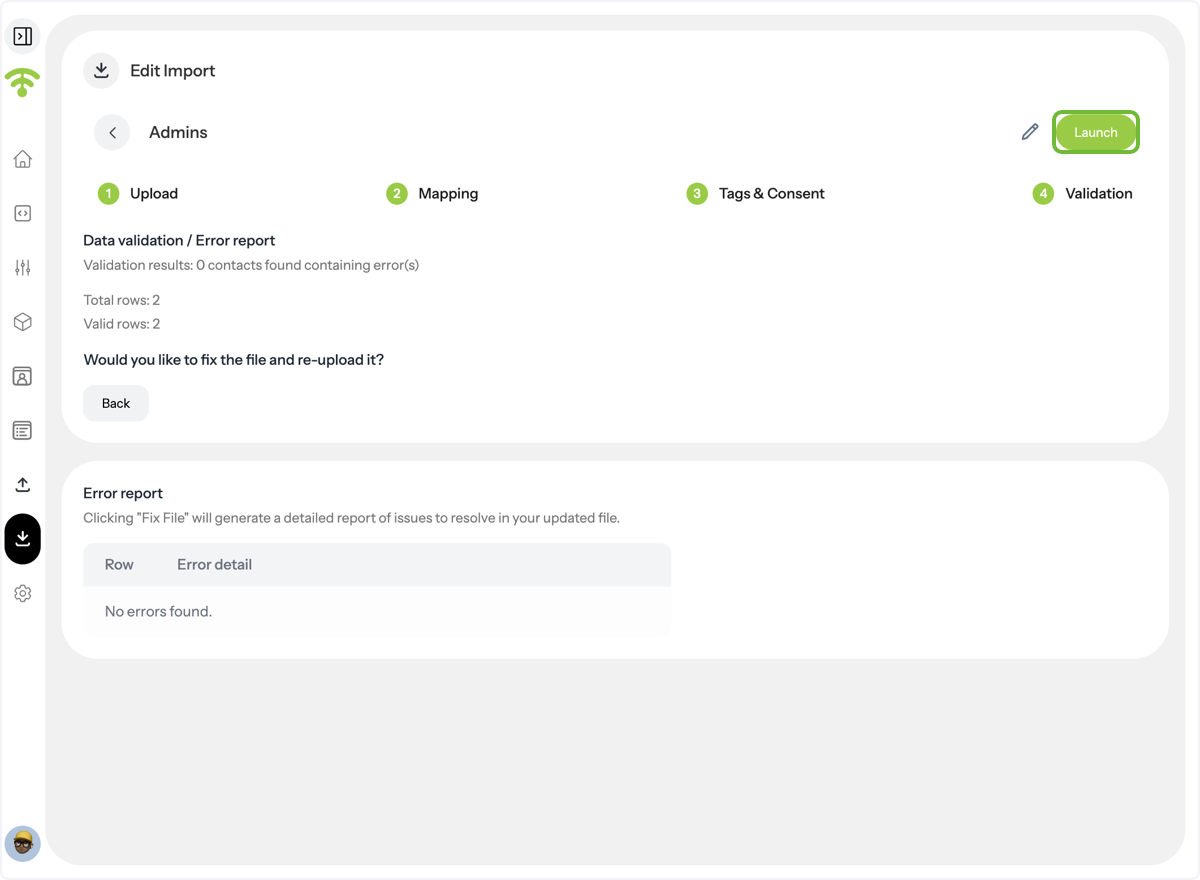
The Data Validation / Error Report shows any rows with errors. Fix them before proceeding. Duplicate rows will be automatically dismissed.

Launch Import
Click Launch to upload your contacts to the database.
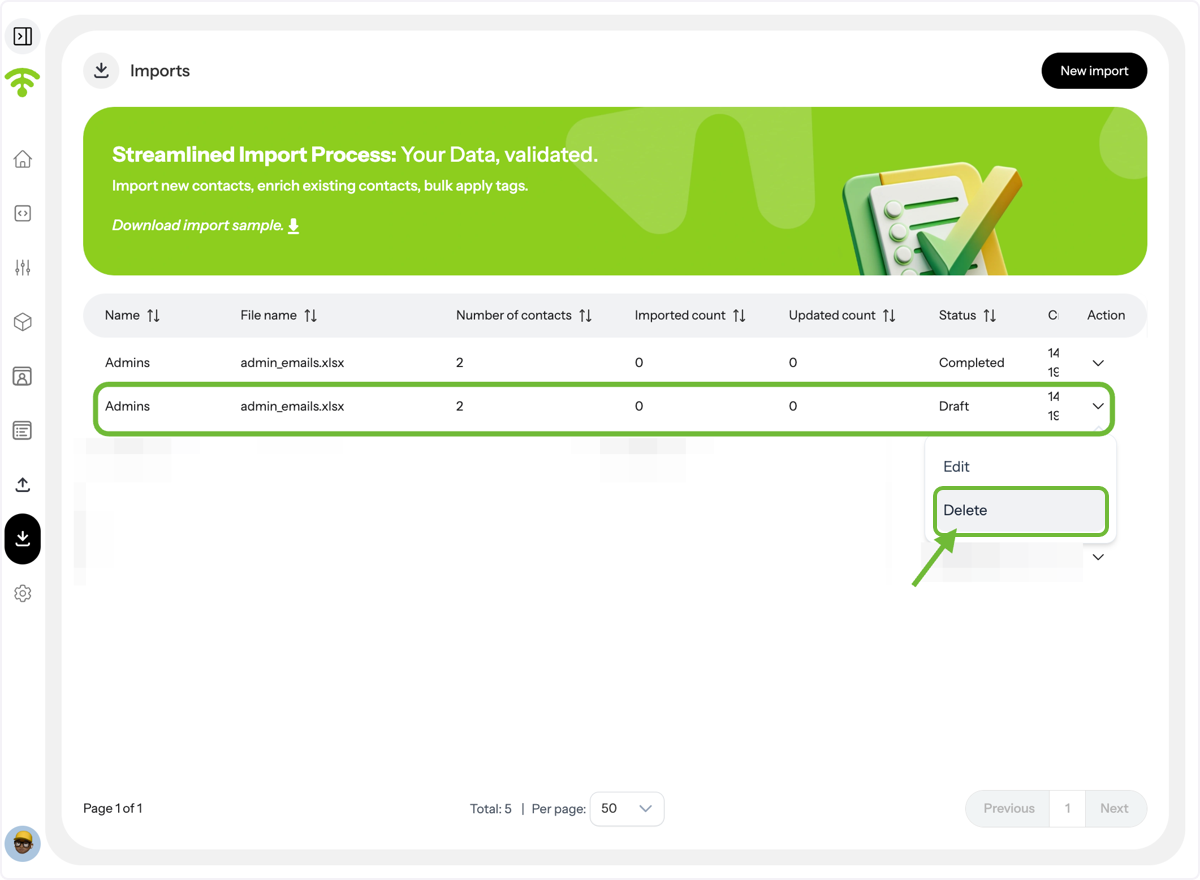
Manage Pending Imports
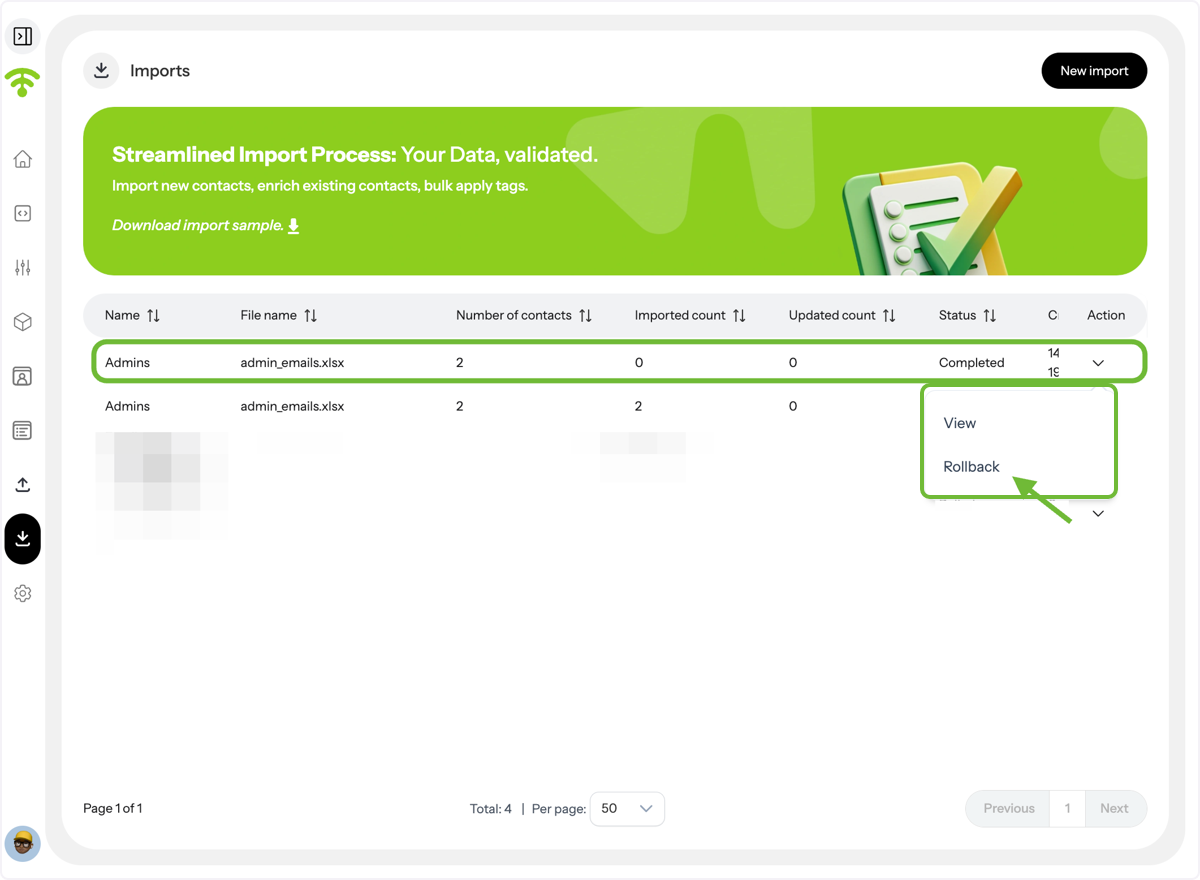
If the import hasn’t completed, you can choose to delete it if needed.
Roll Back Completed Imports \(Optional\)
If the import is complete but you wish to remove it, click Roll Back. The data will be removed, but the import record will remain for system tracking.
🎉 You’re all set! Now you can upload unlimited contacts without WiFi auto-capture, and send personalized campaigns without limits.