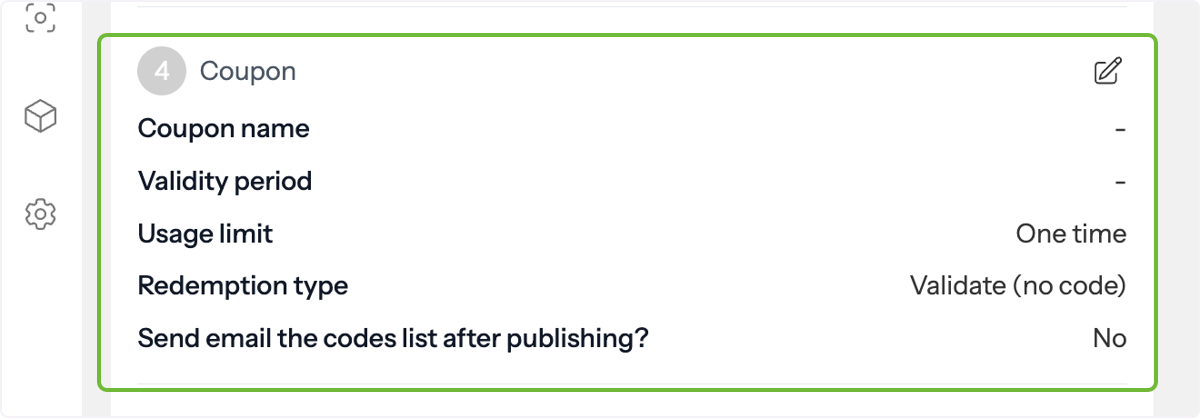
Attach an existing or newly created coupon to your marketing campaigns to drive redemptions and repeat visits. Simply select a coupon when building or editing a campaign, and Affinect will automatically track views, saves, and redemptions as part of your campaign performance.
عاطفة
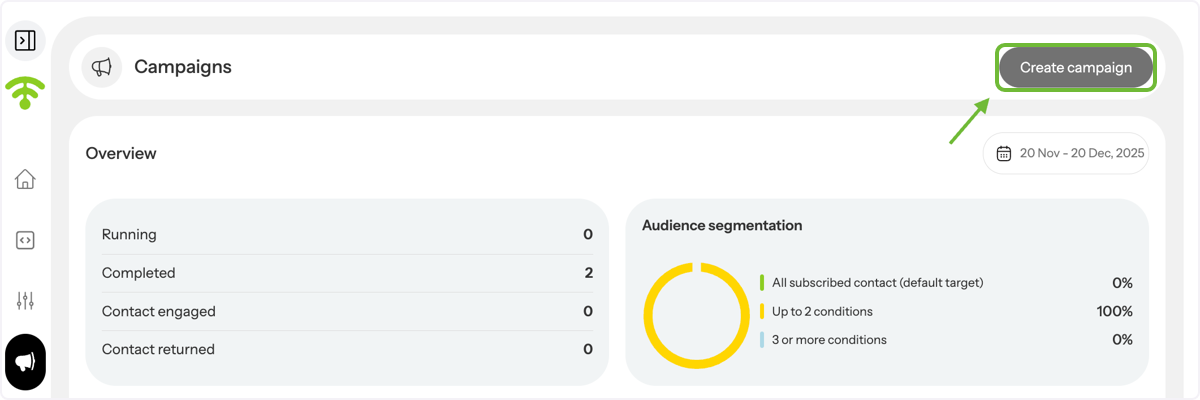
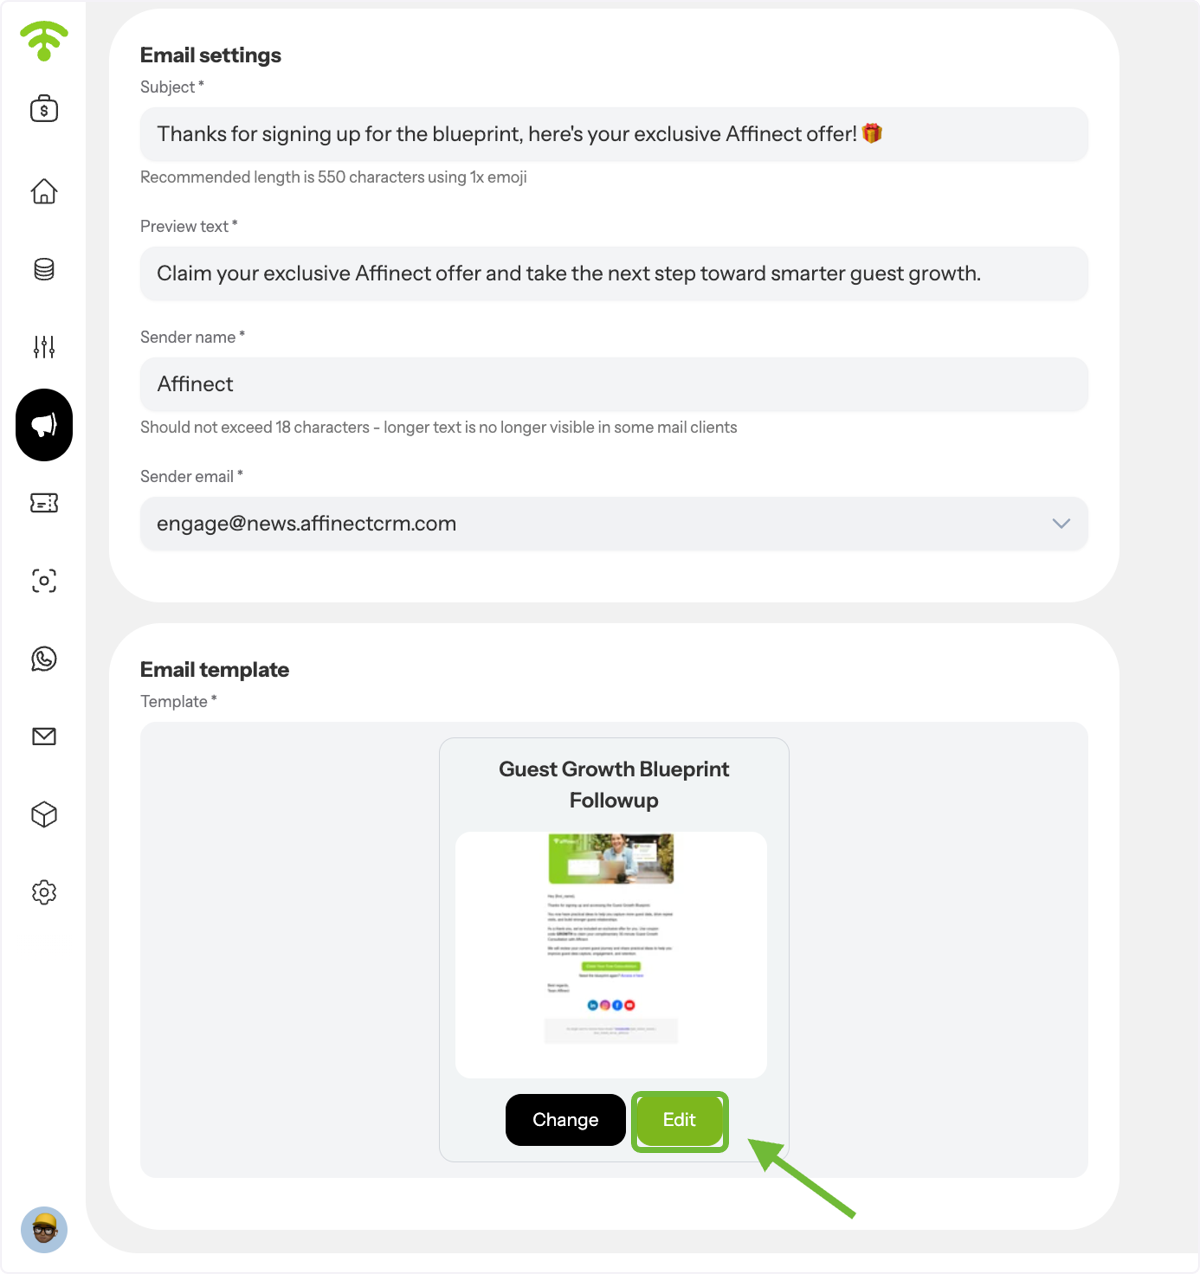
Under Email Settings, enable Coupons. A new Coupons tab will appear next to Content. After setting the subject line, preview text, and sender details, open the email template.
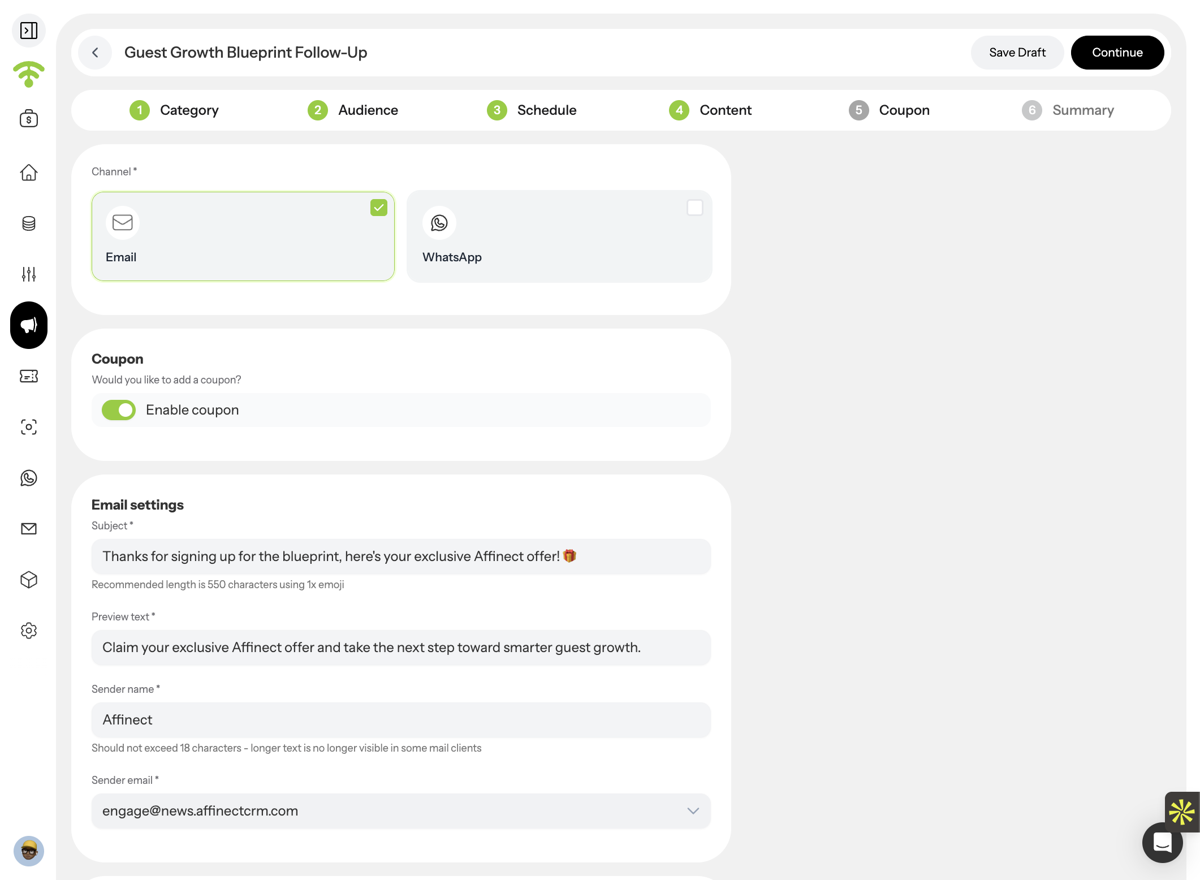
Open Campaigns in Marketing Tools
From the left-hand menu, go to Marketing Tools and click Campaigns.
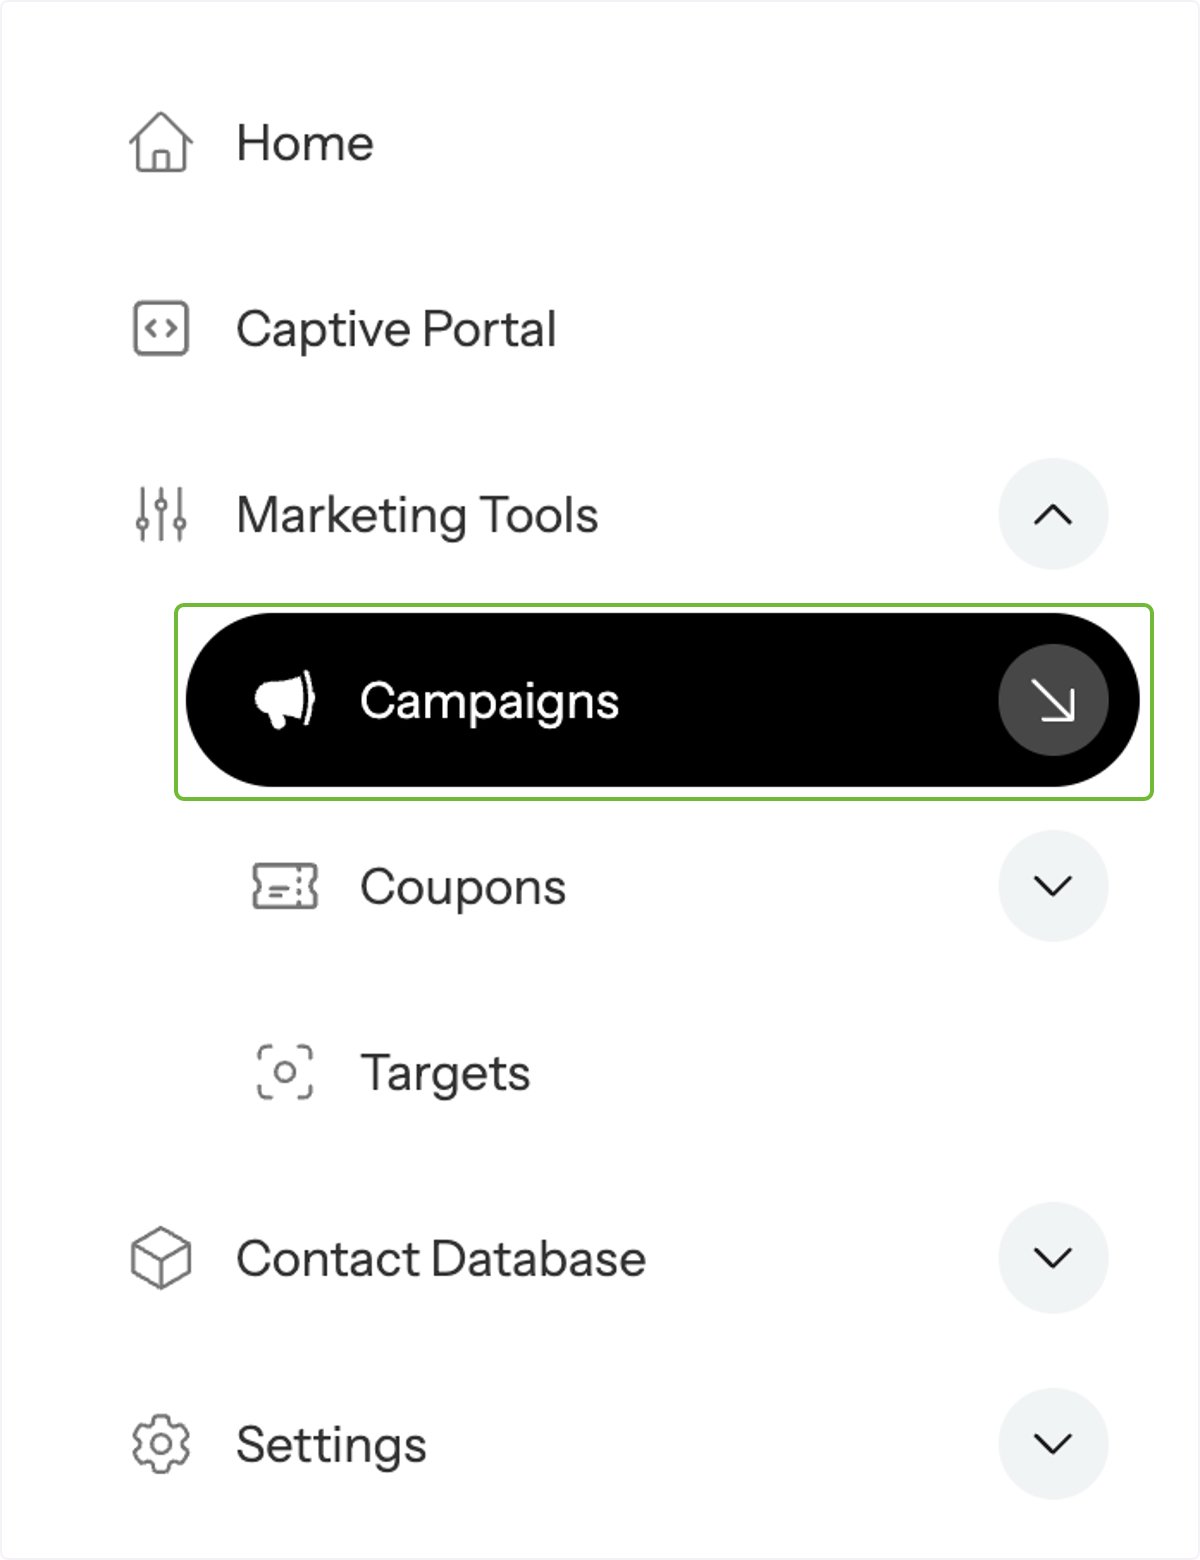
Create a New Campaign
Click Create Campaign in the top-right corner to get started. You can also edit an existing draft.
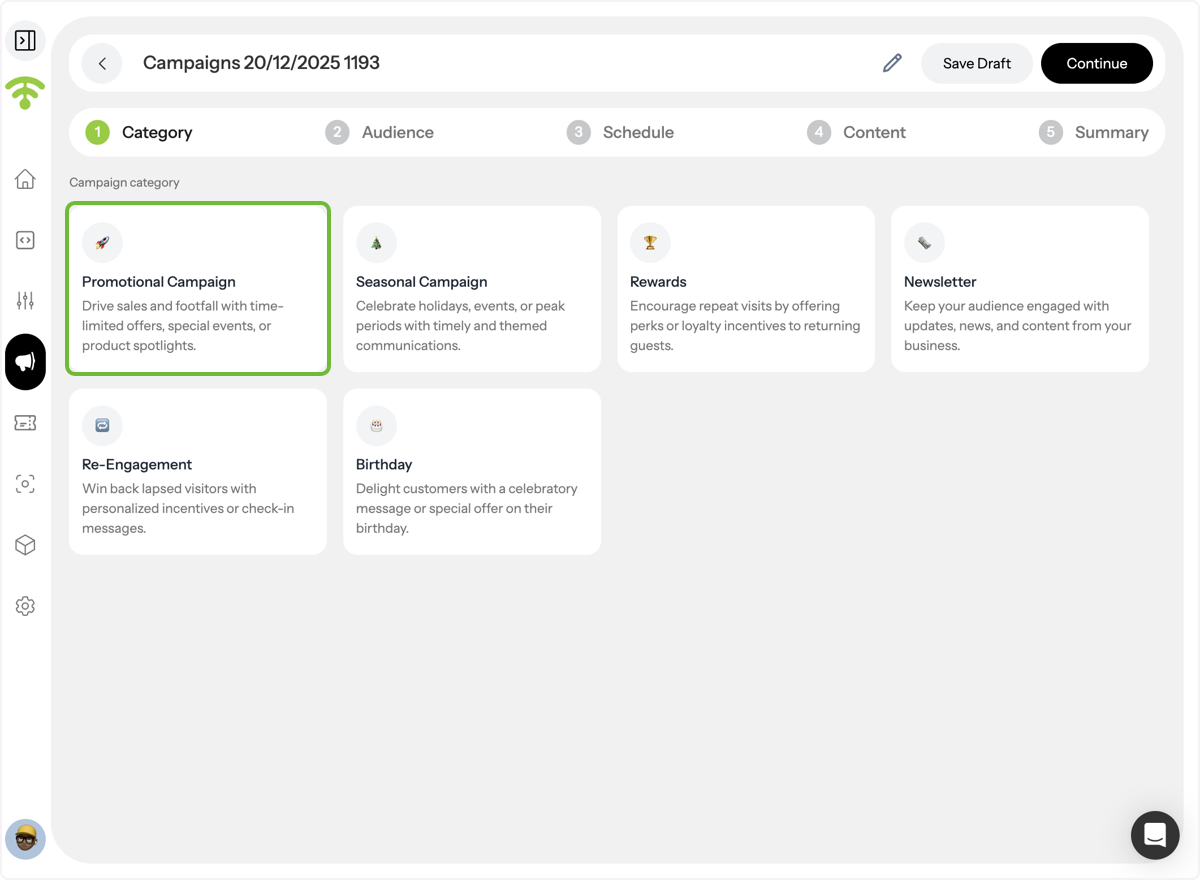
Choose Your Campaign Category
Select the campaign type that best fits your goal.
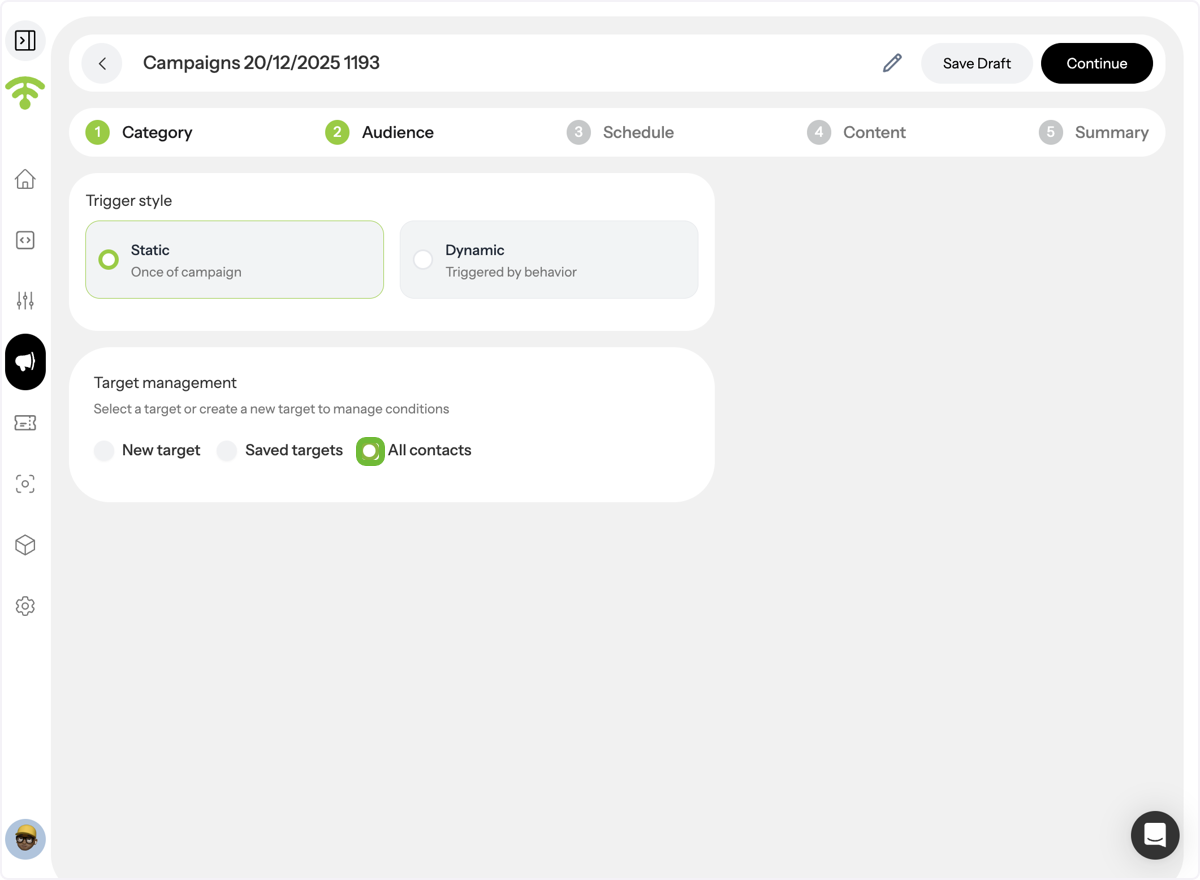
Define Your Audience and Targeting
Choose whether your campaign is static أو dynamic, then select your target audience.
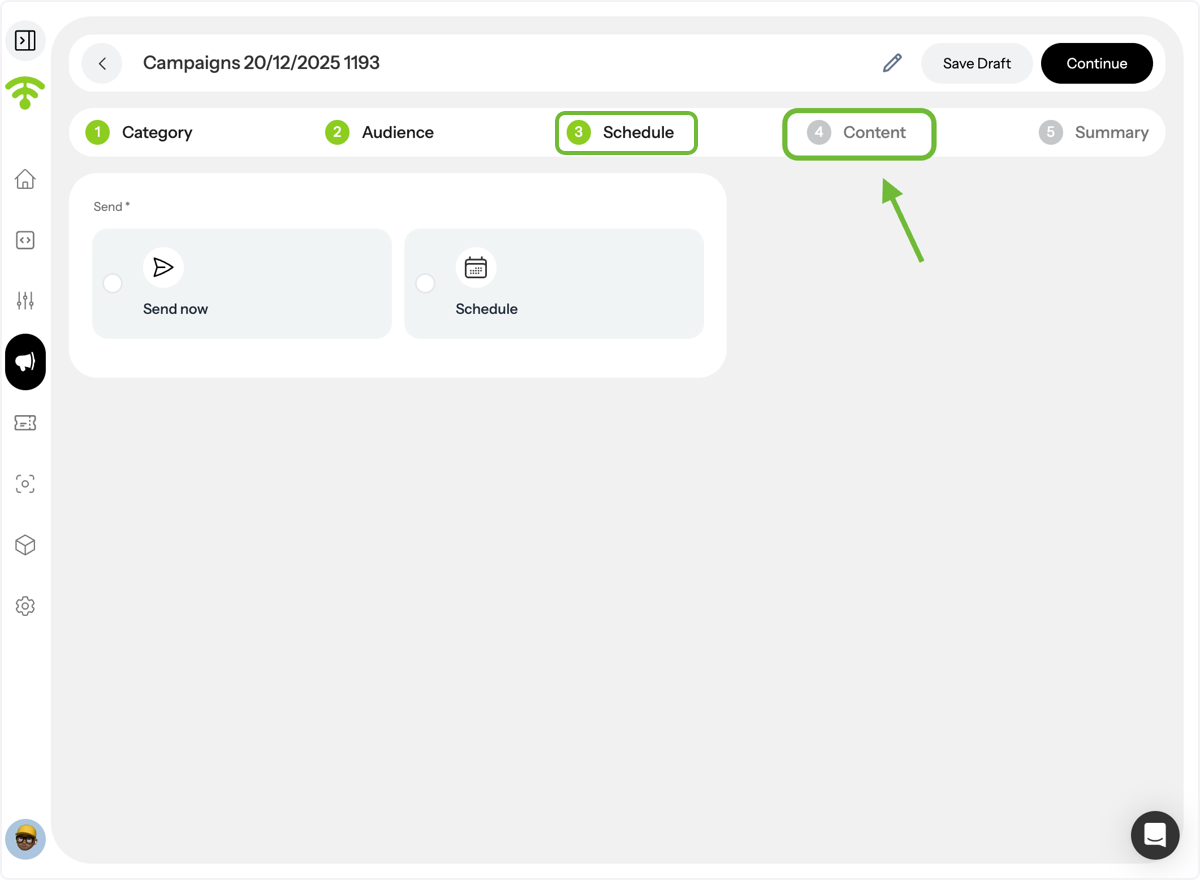
Set Schedule and Proceed to Content
Schedule your campaign for a specific time or choose to send it immediately, then move to Content.
Enable Coupons in Content
Under Email Settings, enable Coupons. A new Coupons tab will appear next to Content. After setting subject line, preview text, sender details, and email template, open the Coupons tab.

A. Enable Coupon in Email Settings
B. Click on Coupon
Edit or Change the Email Template
Click on Edit template or Change to add a coupon to the email.
Attach Coupon
Drag coupon from the contents table and drop it where you want to place it.
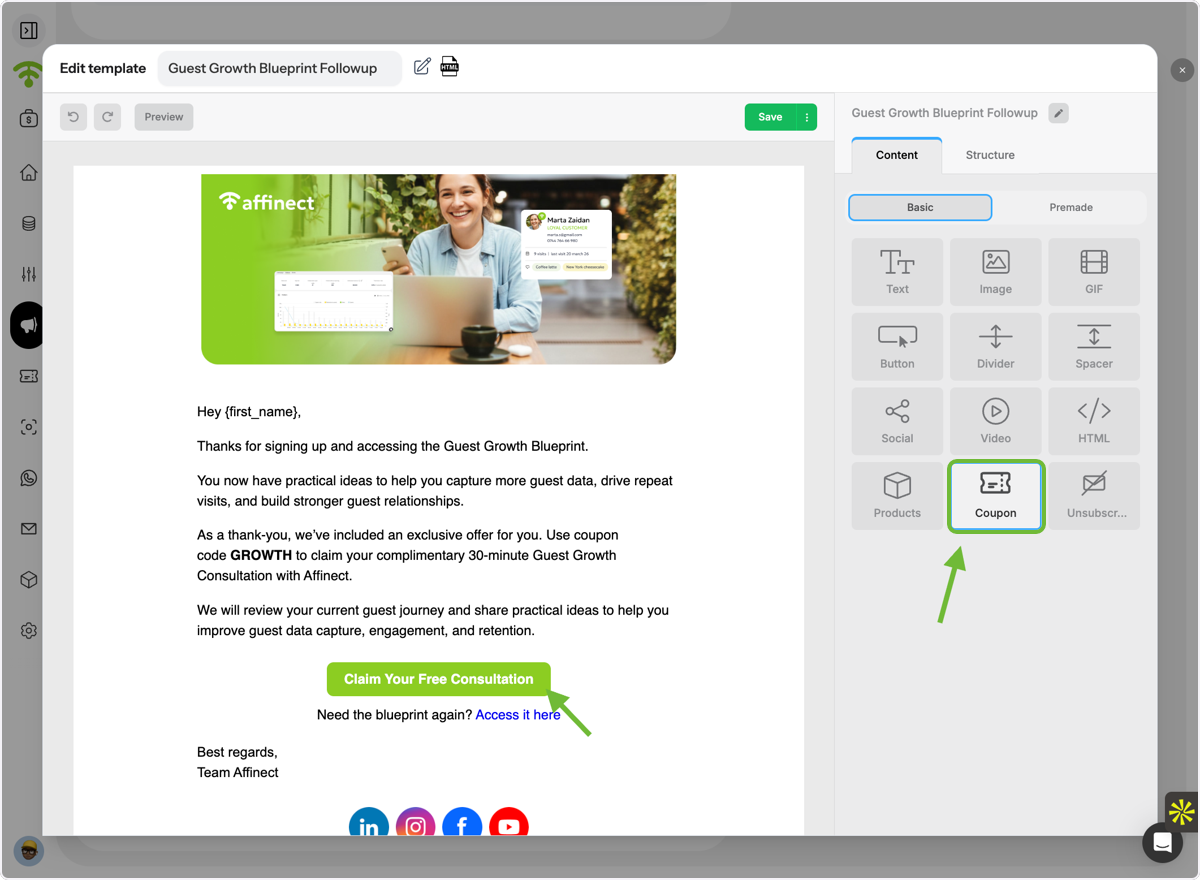
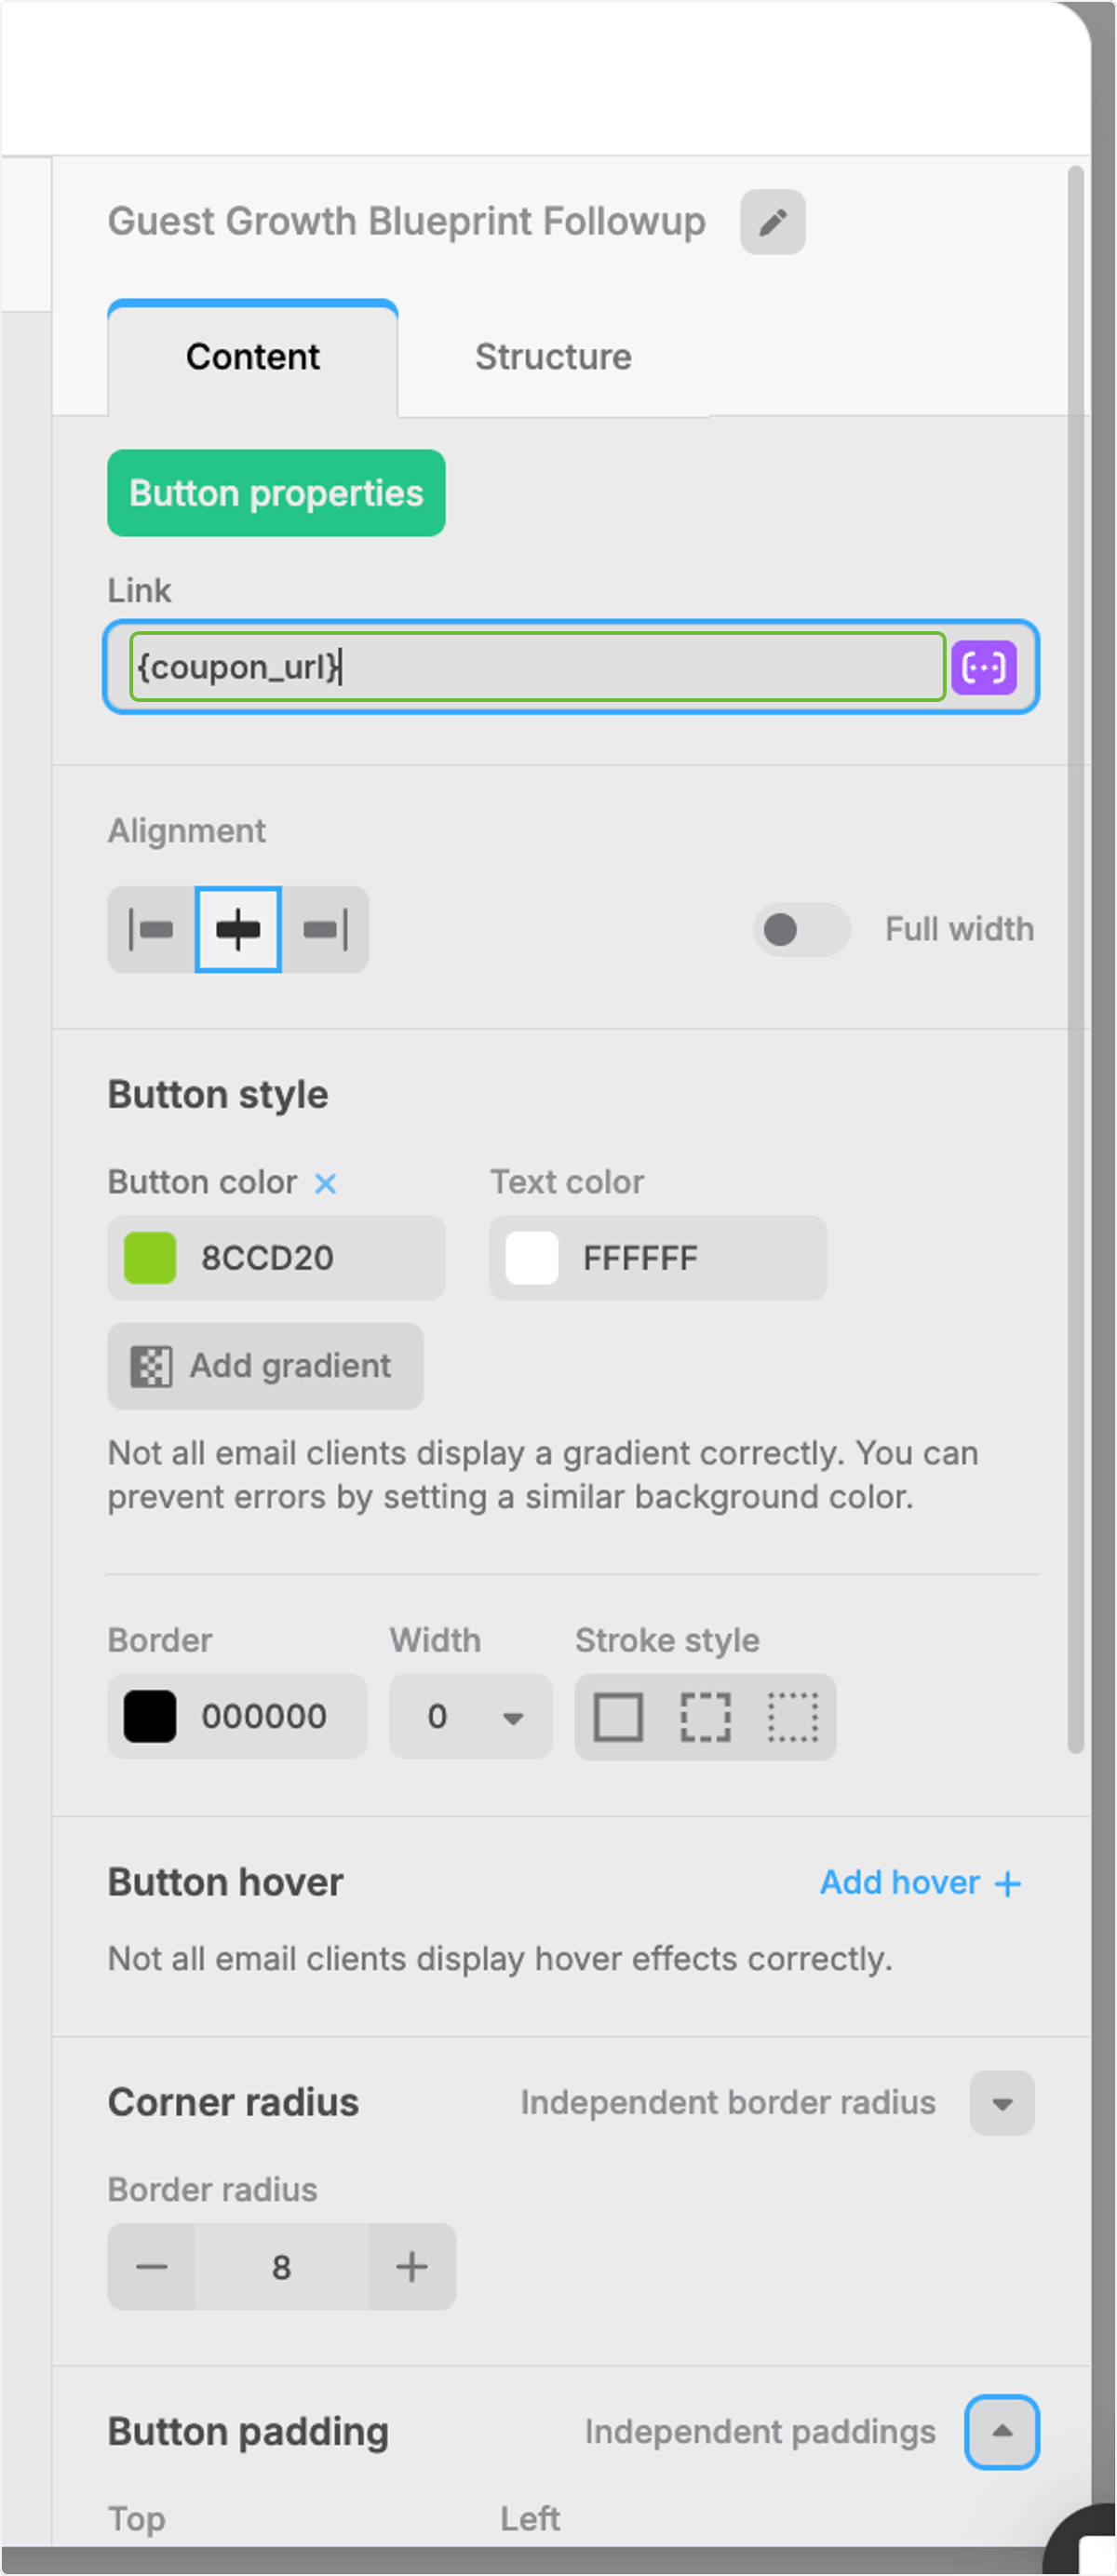
Design Coupon Button
The coupon will be automatically attached, and you can then design its button the way you want.
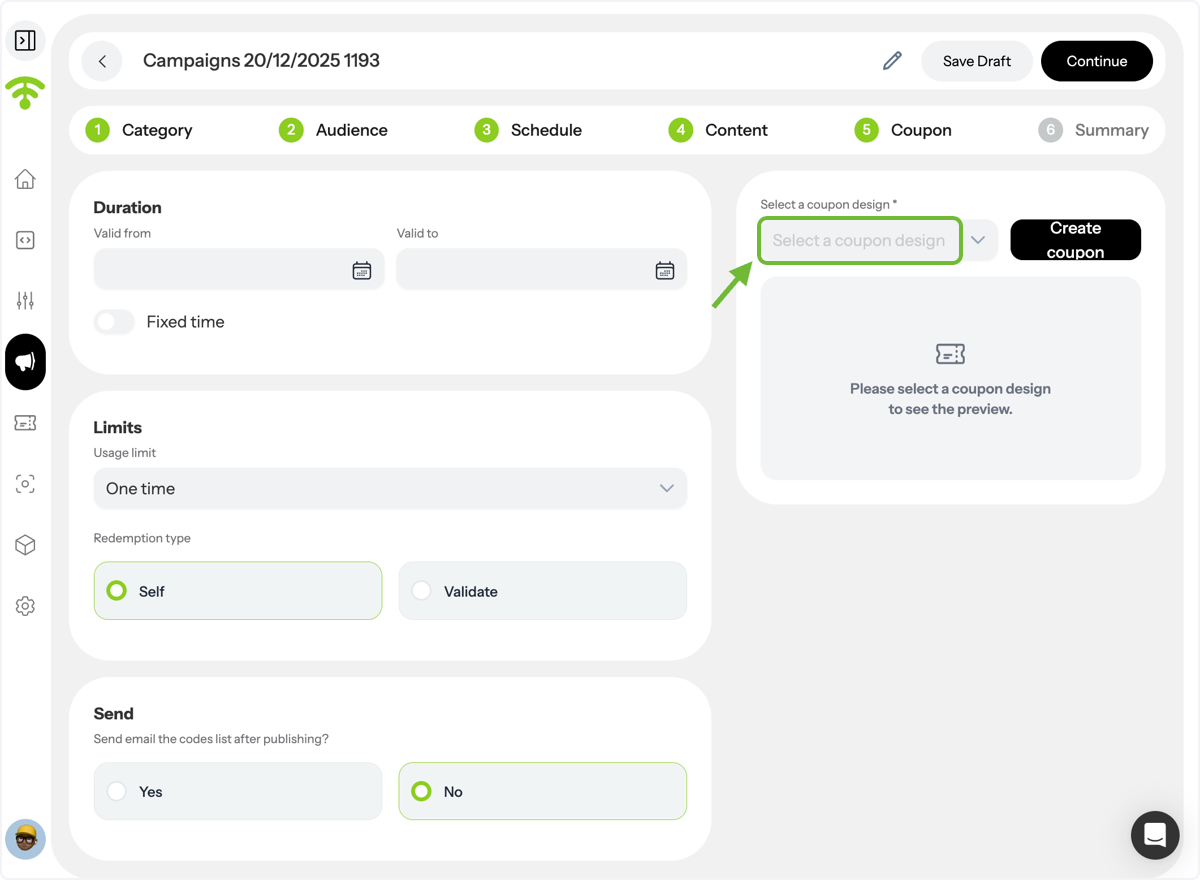
Select or Create a Coupon
Then go to the Coupons tab. Preview the coupon section and choose an existing coupon design or create a new one.
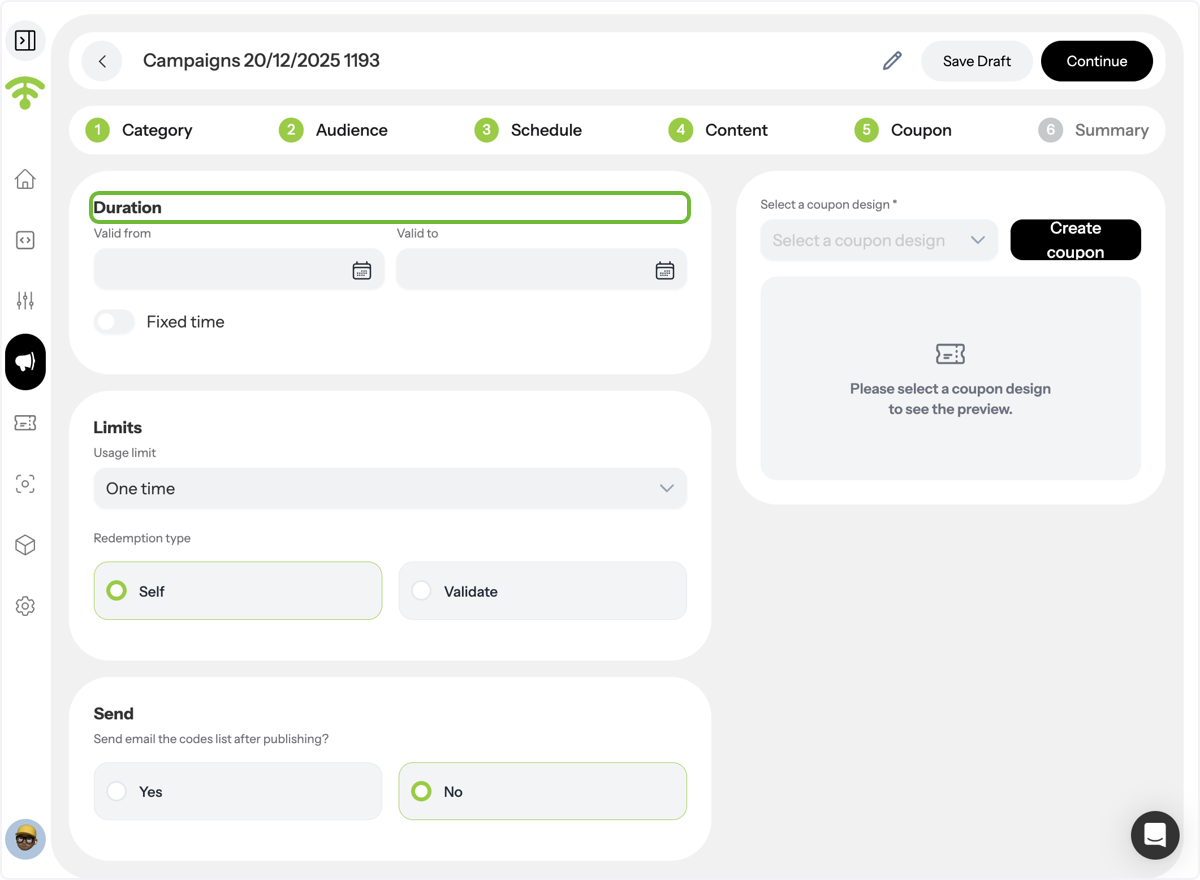
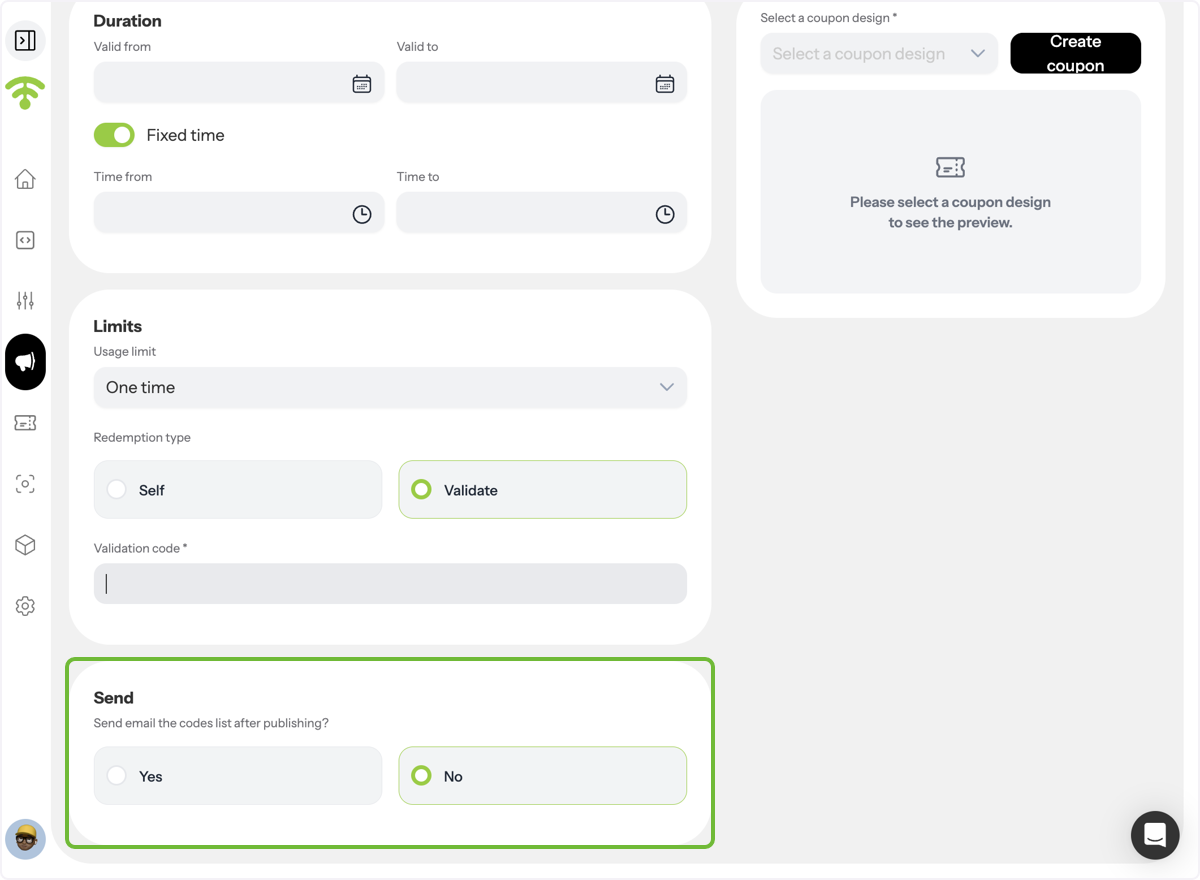
Set Coupon Validity Dates
Define when the coupon is valid by selecting a start and end date.
Define Time-Based Redemption Rules
Optionally restrict redemption to specific times of the day.
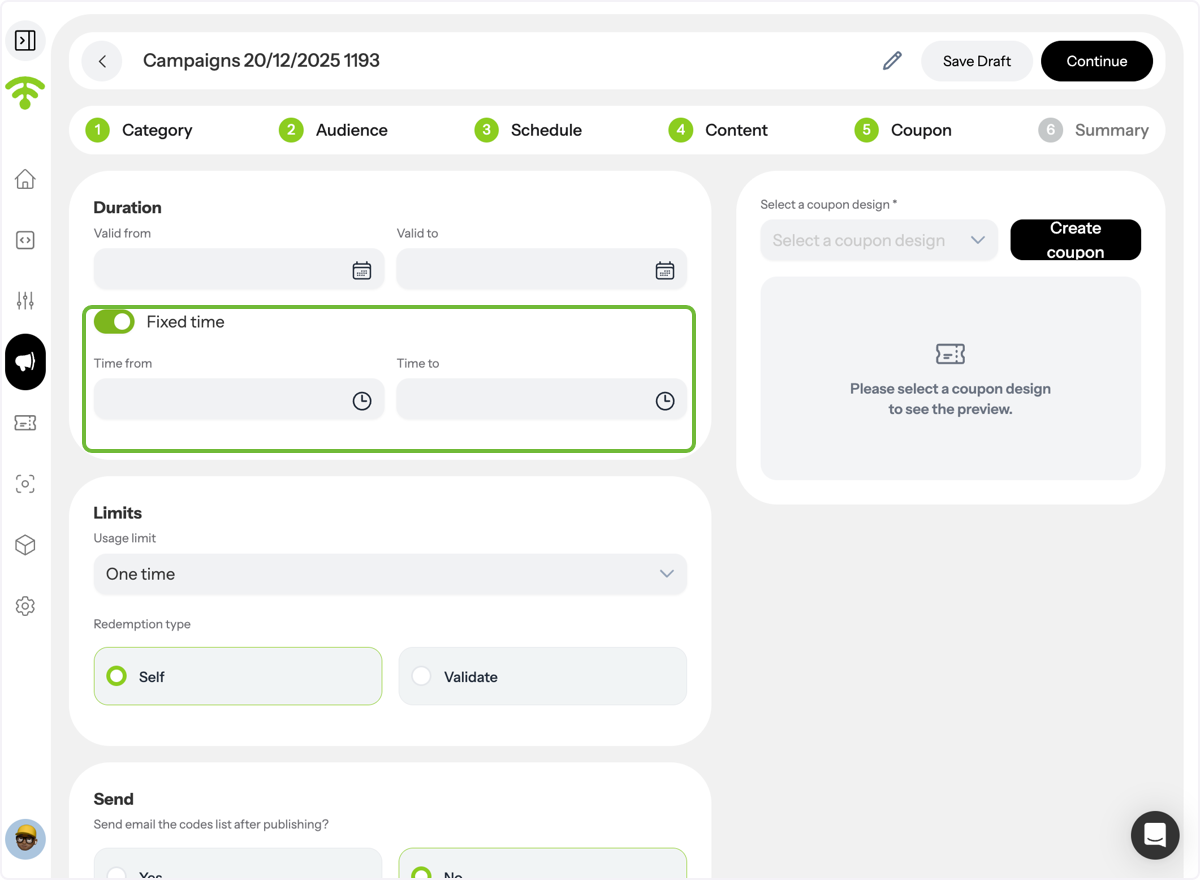
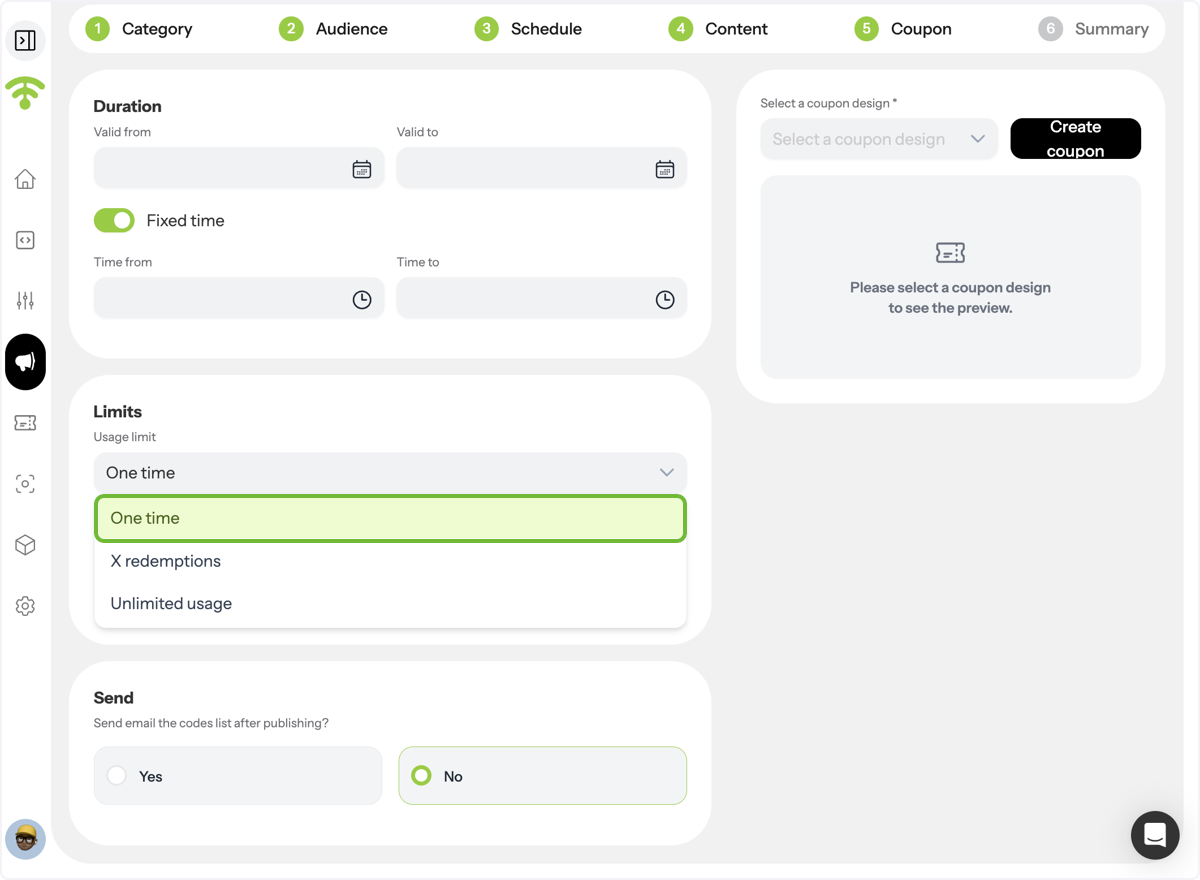
Set Coupon Usage Limits
Choose whether the coupon is one-time use, has a limited number of redemptions, or allows unlimited usage.
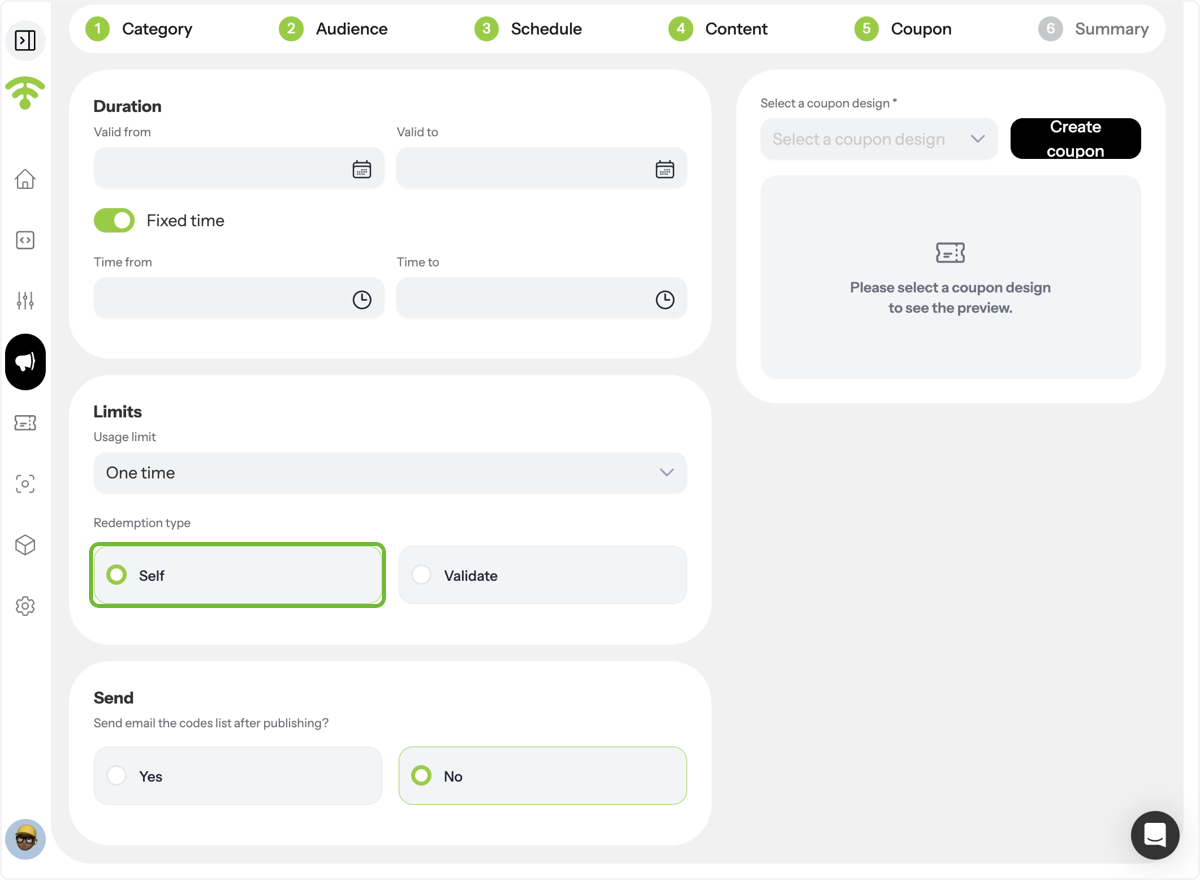
Choose Redemption Type – Self Redeem
If Self Redeem is selected, customers can redeem the coupon themselves.
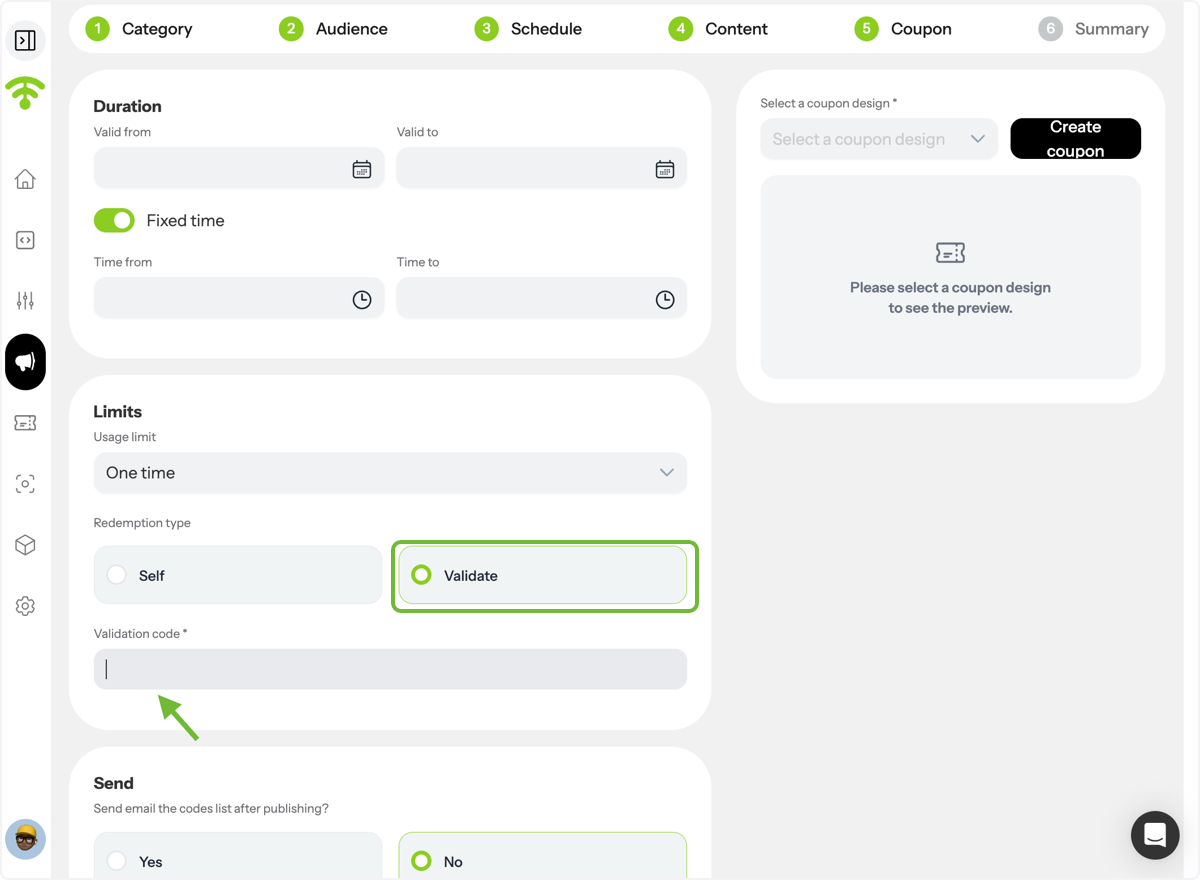
Choose Redemption Type – Validate in Store
If Validate is selected, assign a validation code that staff must enter, helping prevent self-redemption misuse.
Enable Coupon Code Email Delivery
Choose to receive a list of generated coupon codes in your inbox after publishing. This helps with in-store validation, reconciliation, and performance tracking.
Review Campaign Summary and Publish
Go to Summary to review the final coupon and campaign settings, then publish your campaign.